用CodeIgniter 3开发Blog博客
Written by 汶水一方 on 2022.08.14Part 1
系统配置
页面样式bootswatch
增加post功能
Read More功能
Part 2
发帖/删帖功能
编辑帖子
导航条链接
CKEditor
Part 3
帖子摘要
帖子分类
上传图片
Part 4
添加分类
按分类显示帖子
Part 5
留言功能
Part 6
用户注册
添加session
禁止同名或同email
Part 7
用户登入/登出
根据登陆状态显示内容
记录发帖作者
仅作者可改或删
Part 8
帖子自动分页
分类的创建者权限管理
记录分类的创建者
Part 1
本文整理自这位 油管博主Traversy Media 的CodeIgniter 3系列教程。
教程共8个视频,本文对应第个视频
- Build A CodeIgniter PHP App - Part 1: https://youtu.be/I752ofYu7ag
- Build A CodeIgniter PHP App - Part 2: https://youtu.be/jOKTjE6Q5QQ
- Build A CodeIgniter PHP App - Part 3: https://youtu.be/ay_w82osHpM
- Build A CodeIgniter PHP App - Part 4: https://youtu.be/01vd1kF9vZg
- Build A CodeIgniter PHP App - Part 5: https://youtu.be/bXAT2uO3sw8
- Build A CodeIgniter PHP App - Part 6: https://youtu.be/qS0a4nKQ6h8
- Build A CodeIgniter PHP App - Part 7: https://youtu.be/Ah65hBRffwc
- Build A CodeIgniter PHP App - Part 8: https://youtu.be/WoQTjJepDWM
正文开始。
前提条件:
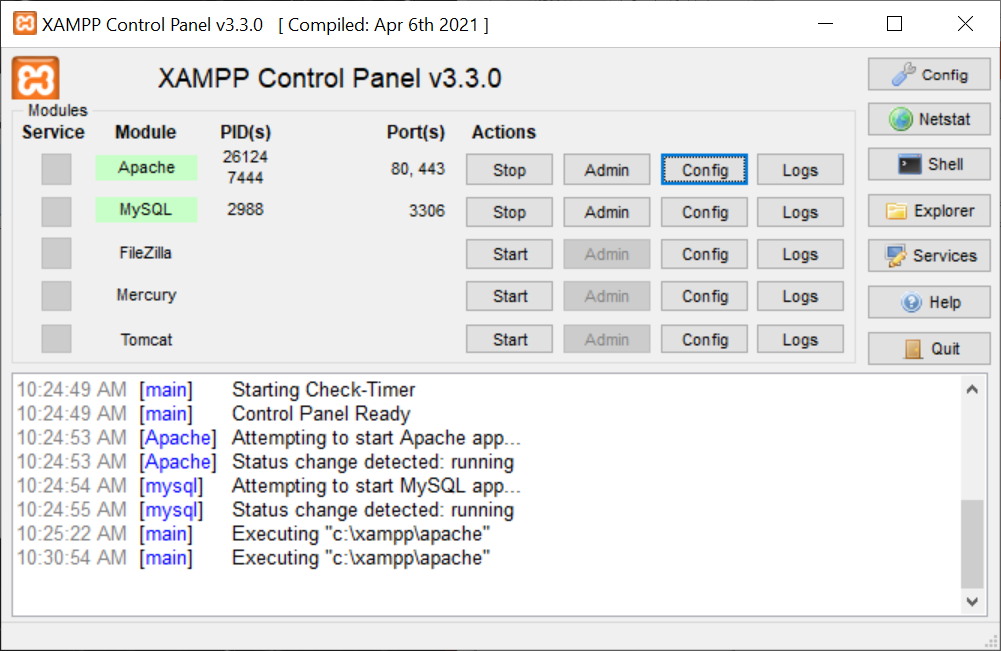
- 请自行安装配置php开发环境,比如xampp。
- 确保apache和MySQL可正常使用。
- 准备一个文本编辑器,本文使用Sublime Text。
一、下载CodeIgniter 3,做好准备工作
- 从 CodeIgniter官网 下载CodeIgniter 3压缩包。
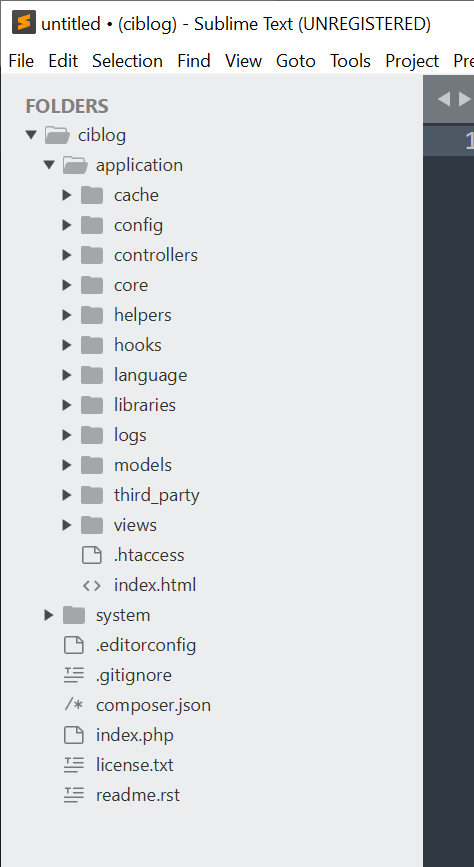
- 解压到c:\xampp\htdocs下,并重命名为ciblog。目录结构如下图。

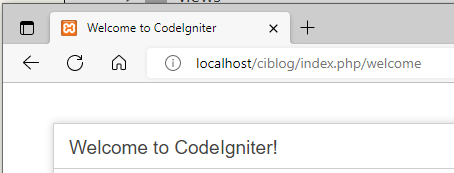
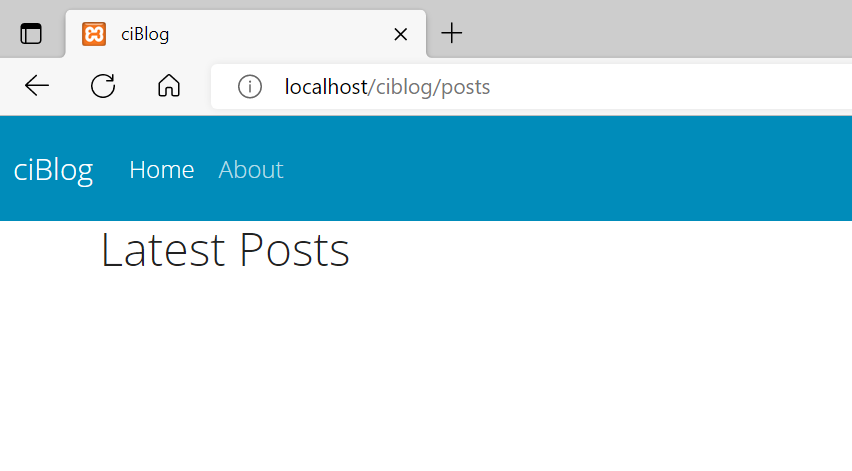
在浏览器打开 127.0.0.1/ciblog 或 localhost/ciblog,应该可以看到如下页面。

在Sublime Text中打开上面的ciblog文件夹。
好了,一切准备就绪,可以开始写代码了!**
二、系统配置
2-1 设置base_url
修改文件:ciblog/application/config/config.php 中的base_url一行(大概第26行)。
将
$config['base_url'] = '';
改为
$config['base_url'] = 'http://localhost/ciblog';
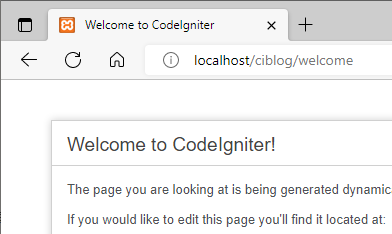
2-2 简化URL路径
我们想简化URL路径,用 http://localhost/ciblog/welcome (即ciblog/controller名称)即可访问,而不需要中间的index.php。 目前是这样的:http://localhost/ciblog/index.php/welcome
如果打开http://localhost/ciblog/welcome会报错404。
需要2步:
a) 修改文件:ciblog/application/config/config.php 中的index_page一行(大概第38行)。
将
$config['index_page'] = 'index.php';
改为
$config['index_page'] = '';
b) 在ciblog根目录下新建文件,名为 .htaccess,内容如下:
RewriteEngine on
RewriteCond $1 !^(index\.php|assets|images|js|css|uploads|favicon.png)
RewriteCond %(REQUEST_FILENAME) !-f
RewriteCond %(REQUEST_FILENAME) !-d
RewriteRule ^(.*)$ ./index.php/$1 [L]
好,现在可以用 ciblog/controller名 的方式访问了。
2-3 创建一个名为Pages的Controller
在给文件命名时,Controller使用复数。Model使用单数。
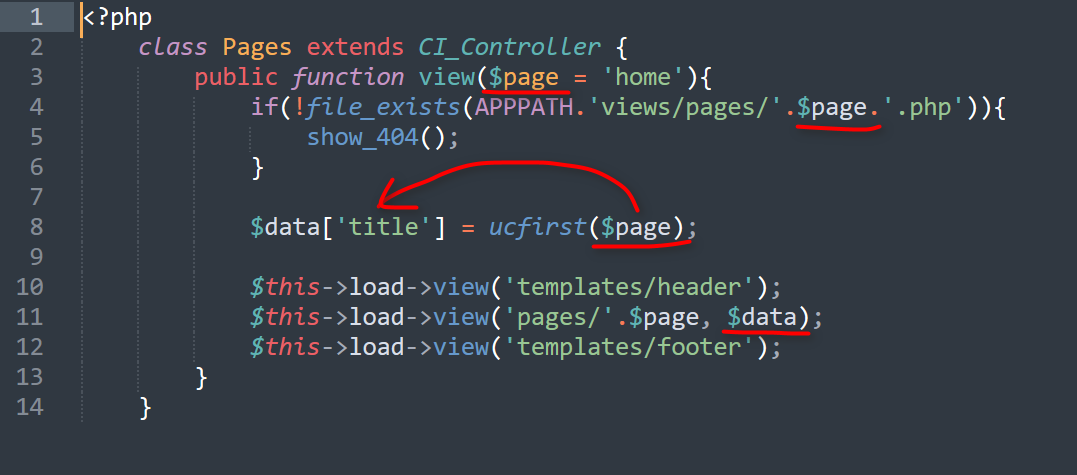
在 ciblog/application/controllers目录下,新建一个文件,名为Pages.php,内容如下:
<?php
  class Pages extends CI_Controller {
    public function view($page = 'home'){
      if(!file_exists(APPPATH.'views/pages/'.$page.'.php')){
        show_404();
      }

      $data['title'] = ucfirst($page);

      $this->load->view('templates/header');
      $this->load->view('pages/'.$page, $data);
      $this->load->view('templates/footer');
    }
  }
Note: HTML entity encoder/decoder
在 ciblog/application/view 目录下,新建一个文件夹,名为templates,在其中创建2个文件:header.php 和 footer.php
header.php文件内容:
<html>
	<head>
		<title>ciBlog</title>
        </head>
        <body>
footer.php文件内容:
  	</body>
</html>
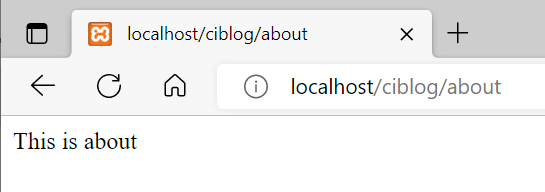
在 ciblog/application/view 目录下,新建一个文件夹,名为pages,在其中创建一个文件 about.php ,内容如下:
This is about
打开 http://localhost/ciblog/pages/view/about 验证一下:

我们不希望用这么长的URL来访问,把URL中的 pages/view 部分去掉,如下操作:
修改:**ciblog/application/config/routes.php
添加一行(注意加入的位置,非常重要!)
$route['(:any)'] = 'pages/view/$1';
修改完的效果:
<?php
defined('BASEPATH') OR exit('No direct script access allowed');

$route['default_controller'] = 'welcome';
$route['(:any)'] = 'pages/view/$1';
$route['404_override'] = '';
$route['translate_uri_dashes'] = FALSE;
打开 http://localhost/ciblog/about 验证一下:
替换掉welcome欢迎页面
修改 application/config/routes.php,把welcome替换成pages/view。 修改好后如下:
<?php
defined('BASEPATH') OR exit('No direct script access allowed');

$route['default_controller'] = 'pages/view';
$route['(:any)'] = 'pages/view/$1';
$route['404_override'] = '';
$route['translate_uri_dashes'] = FALSE;
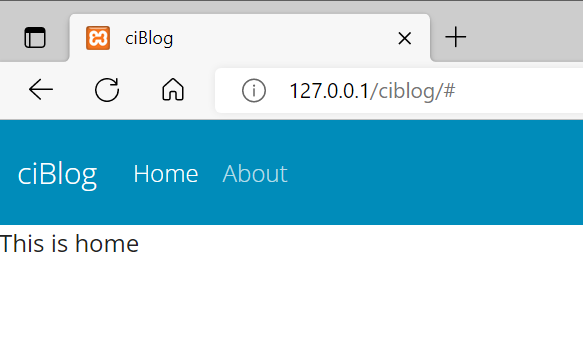
因为在Pages Controller中,view默认的页面叫home,
public function view($page = 'home')
所以我们要在 view/pages/下新建一个文件,名为home.php
This is home
打开 http://localhost/ciblog/ 测试一下:
变量传递
因为在Pages Controller中,URL路径中,views/pages/后面的路径名(php文件名)被传递给了 $data 中的title,而这个 $data 在load->view语句中被传递给了此php页面,所以我们可以在即将要打开的页面中,使用 $title来读取这个传递过来的值。
controller/Pages.php内容:
把 views/pages/about.php 内容改为:
<h2><?=$title; ?></h2>
此时再打开 ciblog/about页面的话,可以看到h2标签下显示的 \$title变量,就是此php文件的文件名(about.php,正如路径中不包括.php一样,只显示about,且被ucfirst函数将首字母大写)

三、加入页面样式(bootswatch)
3-1 添加css文件链接
接下来我们给页面加上样式。
原视频使用的样式已经过期,请使用下文中的样式,已经更新。
在Bootswatch网站上有很多免费的样式,本文使用Yeti为例,链接如下: Bootswatch: Yeti
我们先把此样式的css文件链接,添加到 views/templates/header.php 中title下面一行。
<link rel="stylesheet" href="https://cdn.jsdelivr.net/npm/bootswatch@5.2.0/dist/yeti/bootstrap.min.css">
此时 views/templates/header.php的完整内容为:
<html>
	<head>
		<title>ciBlog</title>
		<meta charset="UTF-8">
		<link rel="stylesheet" href="https://cdn.jsdelivr.net/npm/bootswatch@5.2.0/dist/yeti/bootstrap.min.css">
	</head>
	<body>
此时如果打开页面 http://127.0.0.1/ciblog/,会看到样式已经生效了:

3-2 给页面添加导航条 navbar
3-2-1 添加HTML代码
我们可以从Bootswatch网站上,拷贝导航条的代码到我们的header.php文件中 的后面。

保存文件后,直接刷新一下我们的网页,可以看到导航条已经在上面了。

3-2-2 添加js
但是此时最右侧的Dropdown是不工作的,因为还缺少js。在 header.php 中添加如下一行。
<script src="https://cdn.jsdelivr.net/npm/bootstrap@5.1.3/dist/js/bootstrap.min.js" integrity="sha384-QJHtvGhmr9XOIpI6YVutG+2QOK9T+ZnN4kzFN1RtK3zEFEIsxhlmWl5/YESvpZ13" crossorigin="anonymous"></script>
保存后刷新网页,此时下拉菜单就可以正常工作了。

3-2-3 修改导航条
接下来参考视频中的讲解,对导航条做一些修改:
<html>
	<head>
		<title>ciBlog</title>
		<meta charset="UTF-8">
		<link rel="stylesheet" href="https://cdn.jsdelivr.net/npm/bootswatch@5.2.0/dist/yeti/bootstrap.min.css">
		<script src="https://cdn.jsdelivr.net/npm/bootstrap@5.1.3/dist/js/bootstrap.min.js" integrity="sha384-QJHtvGhmr9XOIpI6YVutG+2QOK9T+ZnN4kzFN1RtK3zEFEIsxhlmWl5/YESvpZ13" crossorigin="anonymous"></script>
	</head>
	<body>

		<nav class="navbar navbar-expand-lg navbar-dark bg-primary">
		  <div class="container-fluid">
		    <a class="navbar-brand" href="<?php echo base_url(); ?>">ciBlog</a>
		    <button class="navbar-toggler" type="button" data-bs-toggle="collapse" data-bs-target="#navbarColor01" aria-controls="navbarColor01" aria-expanded="false" aria-label="Toggle navigation">
		      <span class="navbar-toggler-icon"></span>
		    </button>
		    <div class="collapse navbar-collapse" id="navbarColor01">
		      <ul class="navbar-nav me-auto">
		        <li class="nav-item">
		          <a class="nav-link active" href="<?php echo base_url(); ?>">Home
		            <span class="visually-hidden">(current)</span>
		          </a>
		        </li>
		        <li class="nav-item">
		          <a class="nav-link" href="<?php echo base_url(); ?>about">About</a>
		        </li>

		      </ul>
		      <form class="d-flex">
		        <input class="form-control me-sm-2" type="text" placeholder="Search">
		        <button class="btn btn-secondary my-2 my-sm-0" type="submit">Search</button>
		      </form>
		    </div>
		  </div>
		</nav>
3-2-4 在autoload中添加一个url helper
另外需要添加url这个helper:在application/config/autoload.php中修改第92行(有helper的一行),在后面的括号中增加'url':
$autoload['helper'] = array('url');
此时效果如图:
如果你喜欢下拉菜单,可以保留它的代码。
注意!上面的代码中,有一个需要注意的地方:,它的输出已经包含了末尾的/,所以后面如果有其它路径(例如about),开头不需要再加/。
至此,我们的导航条就添加好了。
3-3 把正文放在container中
在header.php的最末尾,添加一行:
<div class="container">
在footer.php的最开头,添加一行:
</div>
修改views/pages/home.php,完整内容为:
<h2><?=$title; ?></h2>
<p>Welcome to the ciBlog application</p>

修改views/pages/about.php,完整内容为:
<h2><?=$title; ?></h2>
<p>This is ciBlog version 1.0</p>

四、增加post功能
4-1 新建controller,名为Posts.php
完整内容如下:
<?php
  class Posts extends CI_Controller {
    public function index(){
      $data['title'] = 'Latest Posts';

      $this->load->view('templates/header');
      $this->load->view('posts/index', $data);
      $this->load->view('templates/footer');
    }
  }
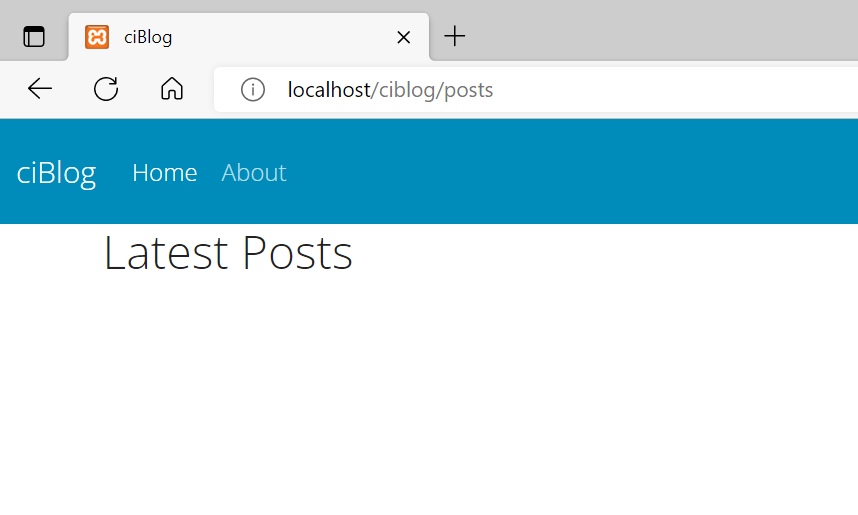
4-2 新建view
在views目录下新建一个目录posts,在其中新建一个文件index.php。 因为我们还没有数据库,所以目前此文件的内容只有一行:
<h2><?=$title; ?></h2>
4-3 修改routes
打开application/config/routes.php, 在所有route之前增加一行$route['posts'] = 'posts/index';
完整内容如下:
<?php
defined('BASEPATH') OR exit('No direct script access allowed');

$route['posts'] = 'posts/index';
$route['default_controller'] = 'pages/view';
$route['(:any)'] = 'pages/view/$1';

$route['404_override'] = '';
$route['translate_uri_dashes'] = FALSE;
现在打开http://localhost/ciblog/posts,实际上显示的是posts/index.php页面。
4-4 新建数据库及表
在phpMyAdmin中,新建一个数据库,取名为ciblog。

在其中新建一个表,命名为posts

创建5个字段,具体如下:

4-5 新建一个model,名为Post_model.php
完整内容如下:
<?php
  class Post_model extends CI_Model {
    public function __construct(){
      $this->load->database(); //打开数据库
    }


    public function get_posts($slug = FALSE){
      if($slug === FALSE){
        $query = $this->db->get('posts'); //posts是表名
        return $query->result_array(); //返回所有贴子
      }

      $query = $this->db->get_where('posts', array('slug' => $slug));
      return $query->row_array(); //只返回符合条件的贴子
    }
  }
简单解释一下代码。 可以看到,我们在构造函数中执行了 打开数据库 的操作。
$this->load->database(); //打开数据库
在下面的 get_posts 的函数定义中,如果有传入slug参数,则执行 $this->db->get_where(),在posts表中查找符合条件的贴子(post)。如果没有传入slug参数,则返回所有贴子。
4-6 将新的model添加到autoload中
修改 application/config/autoload.php 的最后一行,添加'post_model':
$autoload['model'] = array('post_model');
注意:这儿的post_model可以取任意名字,不用跟实际的model文件一致。但是为方便辨认,仍建议使用类似名字。
4-7 配置数据库
按照你的情况,配置application/config/database.php文件中的这3行,修改后保存。
'username' => 'root', //phpMyAdmin的用户名,此处为root
'password' => '', //密码,此处为空
'database' => 'ciblog', //数据库名称
4-8 修改名为Posts.php的controller
增加一行$data['posts'] = $this->post_model->get_posts(); 完整内容如下:
<?php
  class Posts extends CI_Controller {
    public function index(){
      $data['title'] = 'Latest Posts';

      $data['posts'] = $this->post_model->get_posts();

      $this->load->view('templates/header');
      $this->load->view('posts/index', $data);
      $this->load->view('templates/footer');
    }
  }
目前页面中仍然没有数据,如下图。原因有二:1)我们的数据表是空的。2)我们的views/posts/index.php文件中没有添加显示数据的代码。
4-9 在posts数据表中添加一些数据
在phpMyAdmin中,在posts表中手工添加一些数据。
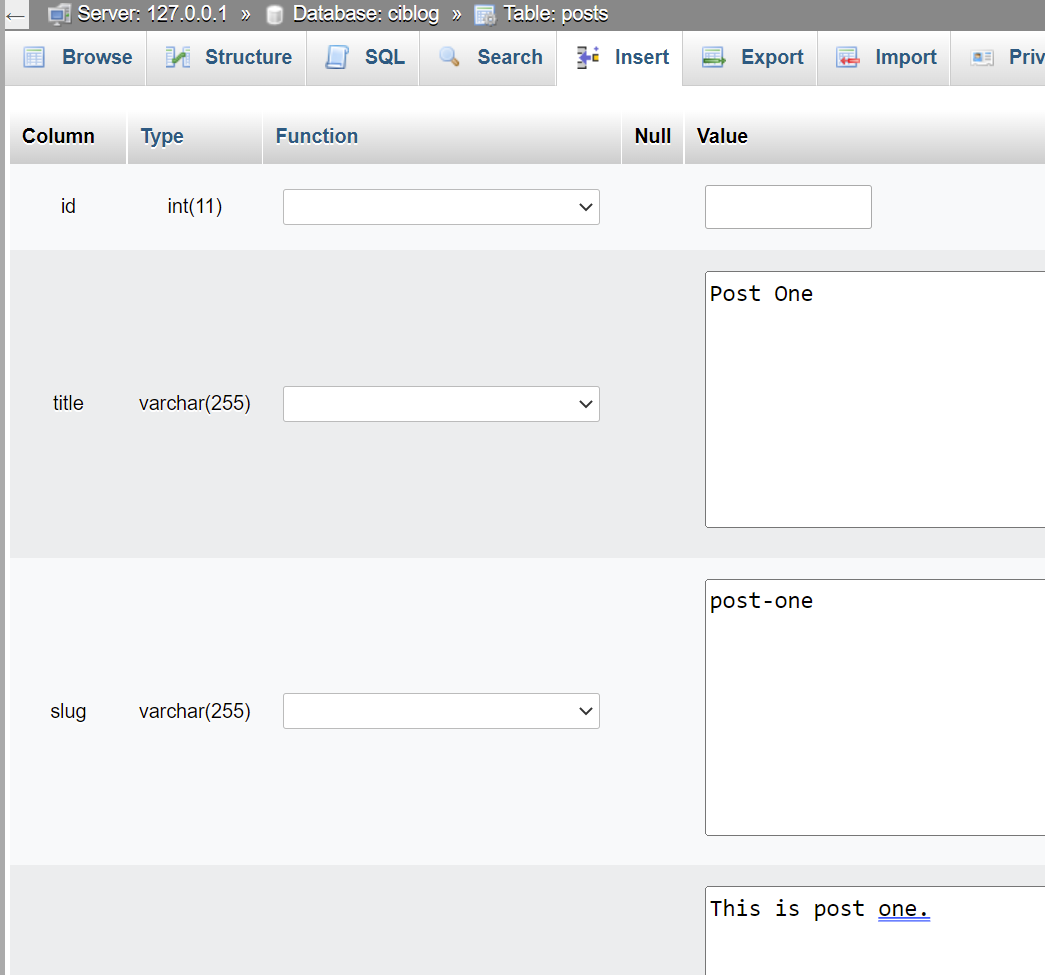
等同的SQL指令:
INSERT INTO `posts` (`id`, `title`, `slug`, `body`, `created_at`) VALUES (NULL, 'Post One', 'post-one', 'This is post one.', current_timestamp()), (NULL, 'Post Two', 'post-two', 'This is post two.', current_timestamp());
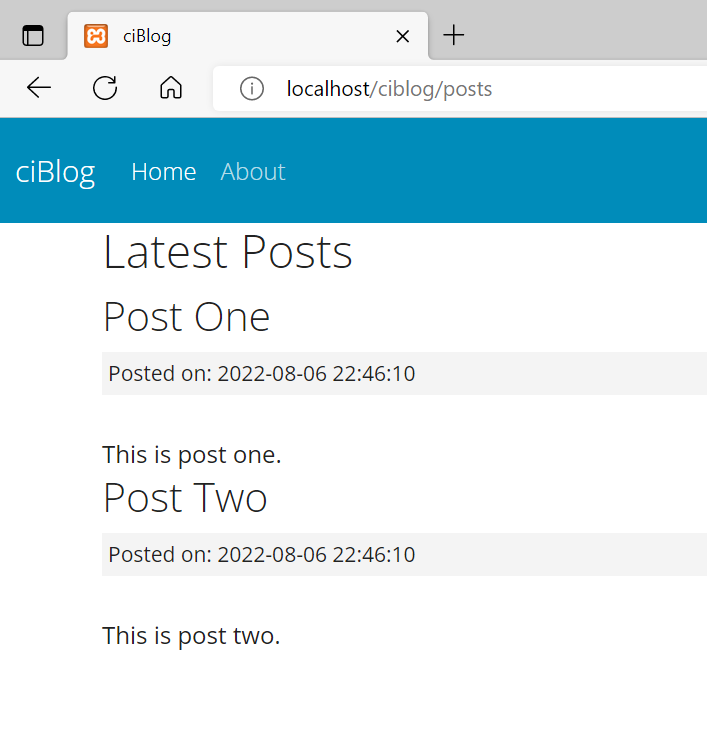
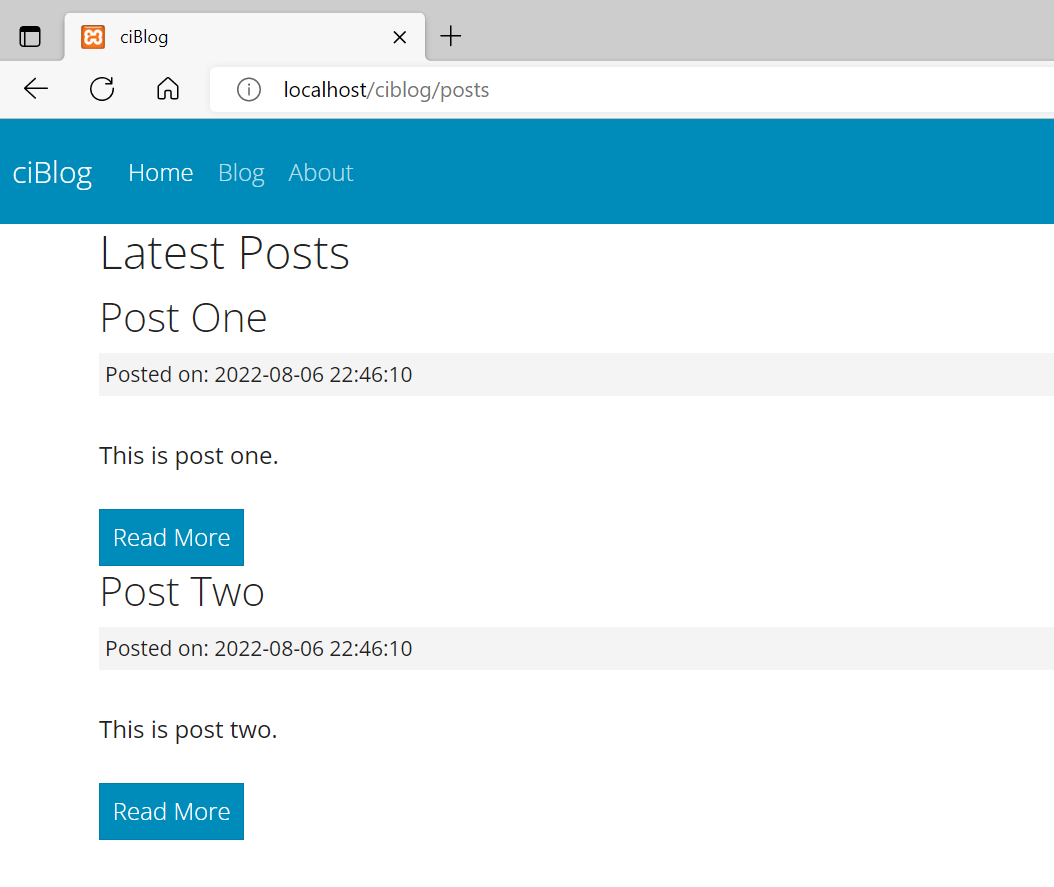
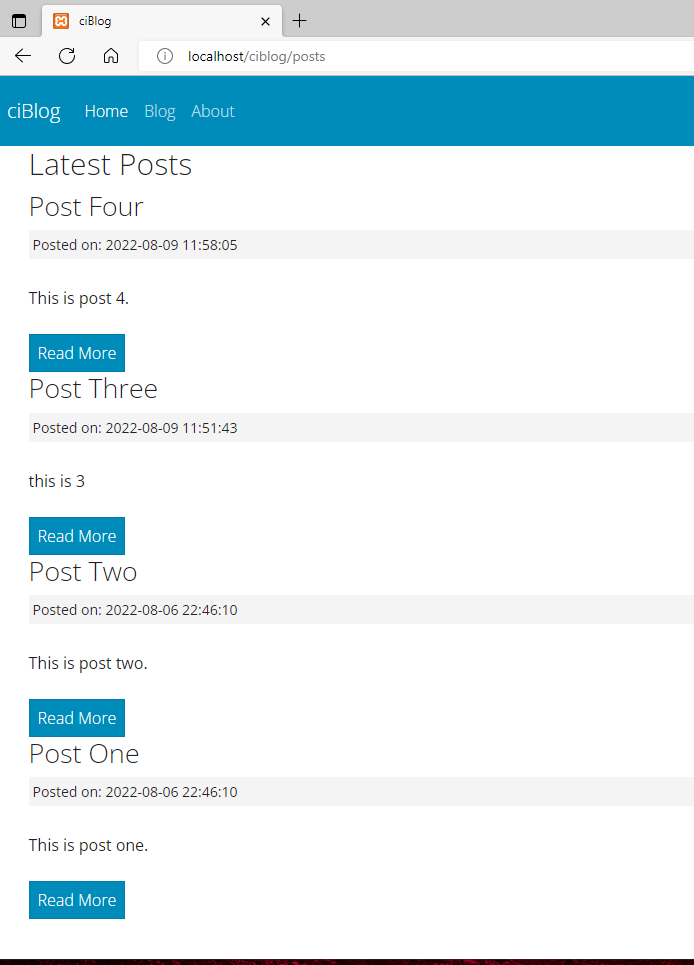
4-10 在views/posts/index.php文件中添加显示数据的代码
views/posts/index.php的完整内容:
<h2><?=$title; ?></h2>
<?php foreach($posts as $post) : ?>
  <h3><?php echo $post['title']; ?></h3>
  <small class="post-date">Posted on: <?php echo $post['created_at']; ?></small><br>
  <?php echo $post['body']; ?>
<?php endforeach; ?>
注意: 第一行中的 $title 来自于controller中的 $data['title'] 第二行中的变量 $posts 来自于controller中的 $data['posts'],见4-8。 第三行中的title,第四行中的created_at和第五行中的body,均为数据表posts中的字段。
这个文件中我们使用了一个名为 post-date 的class,为此我们要新建一个css文件,并在header中引用它,如下。
4-11 新建style.css文件
在ciblog根目录下,新建文件夹assets,在其中新建css文件夹,在css下新建一个文件style.css。 assets/css/style.css 的内容如下:
.post-date {
  background:  #f4f4f4;
  padding:  4px;
  margin:  3px 0;
  display: block;
}
4-12 在header.php中加入style.css
在header部分加入这一行:
<link rel="stylesheet" href="<?php echo base_url(); ?>assets/css/style.css">
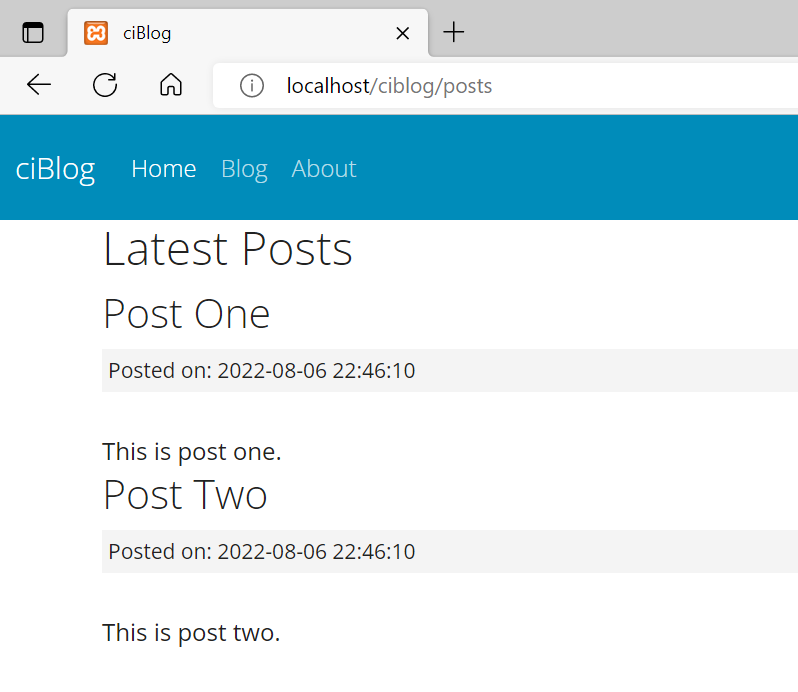
4-13 在导航条中添加相应链接
在views/templates/header.php中,添加
<li class="nav-item">
   <a class="nav-link" href="<?php echo base_url(); ?>posts">Blog</a>
</li>
目前的效果:
4-14 小结(精华)
当在浏览器中打开 ciblog/posts 时,它会先根据 routes.php 中route,访问 posts/index ,即名为posts的controller其中的index函数。
接下来,在名为posts的controller文件(Posts.php)中,运行index()函数。函数先是保存了一些数据到 $data 中,然后用 $this->load->view 方法,先载入 header.php 文件,然后载入 views/posts/index.php 这个view,最后载入footer.php。
五、为贴子增加更多功能
5-1 在帖子下方增加 Read More
在views/posts/index.php的body下一行,增加:
<br><br>
<a class="btn btn-primary" href="<?php echo site_url('/posts/'.$post['slug']); ?>">Read More</a>
注意:因为本文使用的css样式和原视频不同,所以这儿的按钮使用的class为btn-primary,而非视频中的btn-default。
5-2 处理Read More的点击
从5-1的代码可以看到,当用户点击Read More时,会跳转到页面:'/posts/'.$post['slug'],比如/posts/post-one 接下来我们处理这个帖子页面的显示。
5-2-1 Controller
在Posts.php这个controller中,添加:
public function view($slug = NULL) {
  $data['post'] = $this->post_model->get_posts($slug);

  if(empty($data['post'])){
    show_404();
  }

  $data['title'] = $data['post']['title'];

  $this->load->view('templates/header');
  $this->load->view('posts/view', $data);
  $this->load->view('templates/footer');
}
5-2-2 View
在views/posts/下,新建文件view.php,内容如下:
<h2><?php echo $post['title']; ?></h2>
<small class="post-date">Posted on: <?php echo $post['created_at'];?></small><br>

<div class="post-body">
  <?php echo $post['body']; ?>
</div>
5-2-3 route
修改application/config/routes.php,在其它route之前添加一行:
$route['posts/(:any)'] = 'posts/view/$1';

第一部分完成!
Part 2
目标: 1)增加新建帖子(发帖)的功能 2)增加删除帖子的功能 3)增加编辑帖子的功能 4)为发帖页面添加CKEditor编辑器 5)为编辑帖子页面添加CKEditor编辑器
一、增加新建帖子(发帖)的功能
1-1 修改controller
在 controllers/Posts.php 中,增加一个函数:
public function create(){
  $data['title'] = 'Create Post';

  $this->load->view('templates/header');
  $this->load->view('posts/create', $data);
  $this->load->view('templates/footer');
}
1-2 新建view
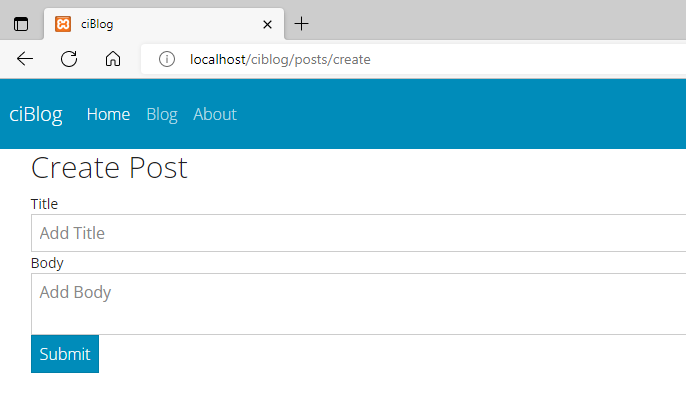
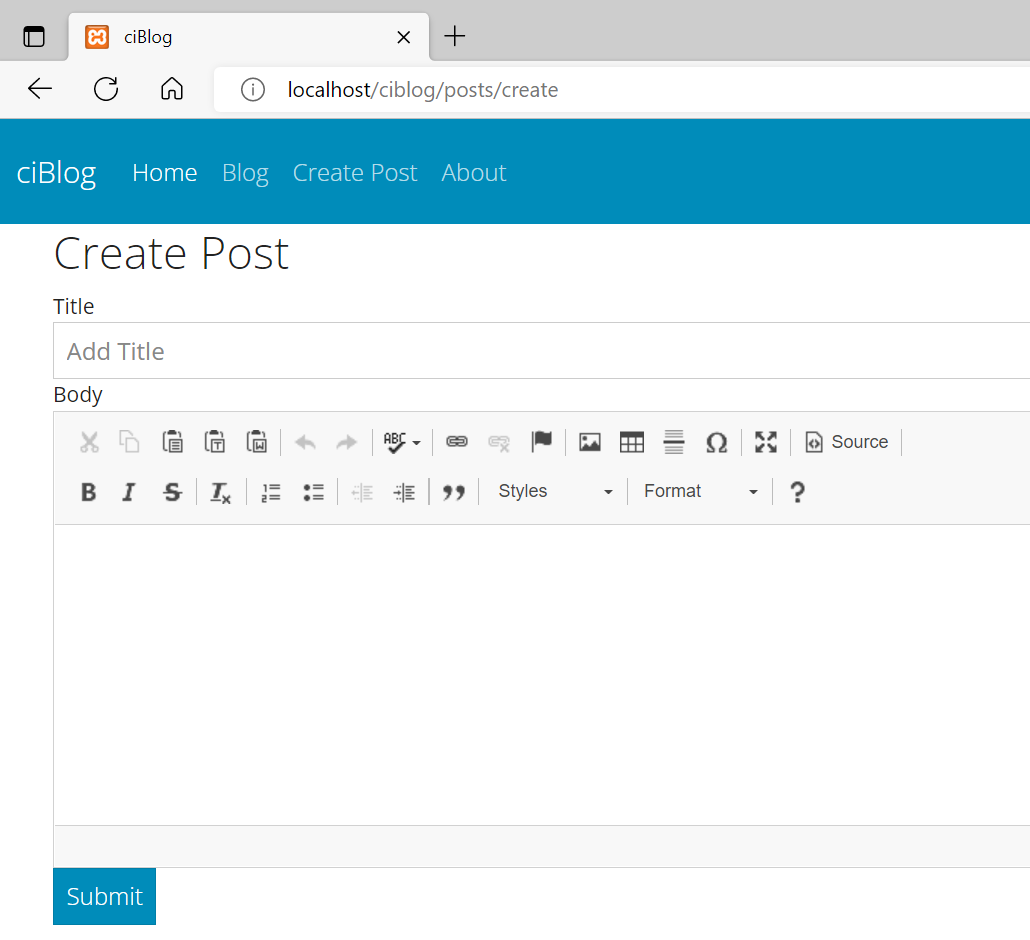
在views/posts/下新建一个文件create.php,添加:
<h2><?= $title; ?></h2>
<form>
  <div class="form-group">
    <label>Title</label>
    <input type="text" class="form-control" name="title" placeholder="Add Title">
  </div>

  <div class="form-group">
    <label>Body</label>
    <textarea class="form-control" name="body" placeholder="Add Body"></textarea>
  </div>

  <button type="submit" class="btn btn-primary">Submit</button>
</form>
1-3 修改routes
修改 config/routes.php 文件,添加一行:
$route['posts/create'] = 'posts/create';
config/routes.php 文件的完整内容如下(注意顺序!):
<?php
defined('BASEPATH') OR exit('No direct script access allowed');

$route['posts/create'] = 'posts/create';
$route['posts/(:any)'] = 'posts/view/$1';
$route['posts'] = 'posts/index';

$route['default_controller'] = 'pages/view';
$route['(:any)'] = 'pages/view/$1';

$route['404_override'] = '';
$route['translate_uri_dashes'] = FALSE;
打开网页http://localhost/ciblog/posts/create,目前是这样的:
1-4 添加form helper
config/autoload.php,在helper一句中添加form(约第92行):
$autoload['helper'] = array('url', 'form');
1-5 修改view
修改 views/posts/create.php ,增加表单验证功能:
<h2><?= $title; ?></h2>

<?php echo validation_errors(); ?>
<?php echo form_open('posts/create'); ?>

  <div class="form-group">
    <label>Title</label>
    <input type="text" class="form-control" name="title" placeholder="Add Title">
  </div>

  <div class="form-group">
    <label>Body</label>
    <textarea id="editor1" class="form-control" name="body" placeholder="Add Body"></textarea>
  </div>

  <button type="submit" class="btn btn-primary">Submit</button>
</form>
1-6 添加form_validatoin库
在config/autoload.php中添加form_validatoin的library(约第61行):
$autoload['libraries'] = array('form_validation');
1-7 修改controller
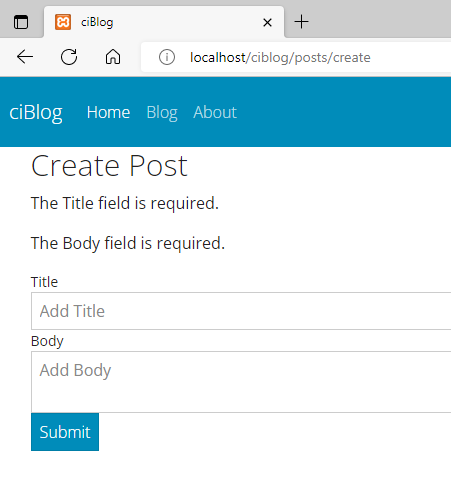
接下来,在controller/Posts.php中设置表单验证的规则。修改其中的create函数:
public function create(){
  $data['title'] = 'Create Post';

  $this->form_validation->set_rules('title', 'Title', 'required');
  $this->form_validation->set_rules('body', 'Body', 'required');

  if($this->form_validation->run() === FALSE){
    $this->load->view('templates/header');
    $this->load->view('posts/create', $data);
    $this->load->view('templates/footer');
  } else {
    $this->Post_model->create_post();
    redirect('posts');
  }
}
1-8 修改model
在models/Post_model.php中添加一个函数:
public function create_post(){
  $slug = url_title($this->input->post('title'));

  $data = array(
    'title' => $this->input->post('title'),
    'slug' => $slug,
    'body' => $this->input->post('body')
  );

  return $this->db->insert('posts', $data);
}
我们来测试一下。 如果我们不填写内容就点submit的话,会有提示:
我们输入内容后,点submit,就会成功添加,并跳转到所有帖子的页面:
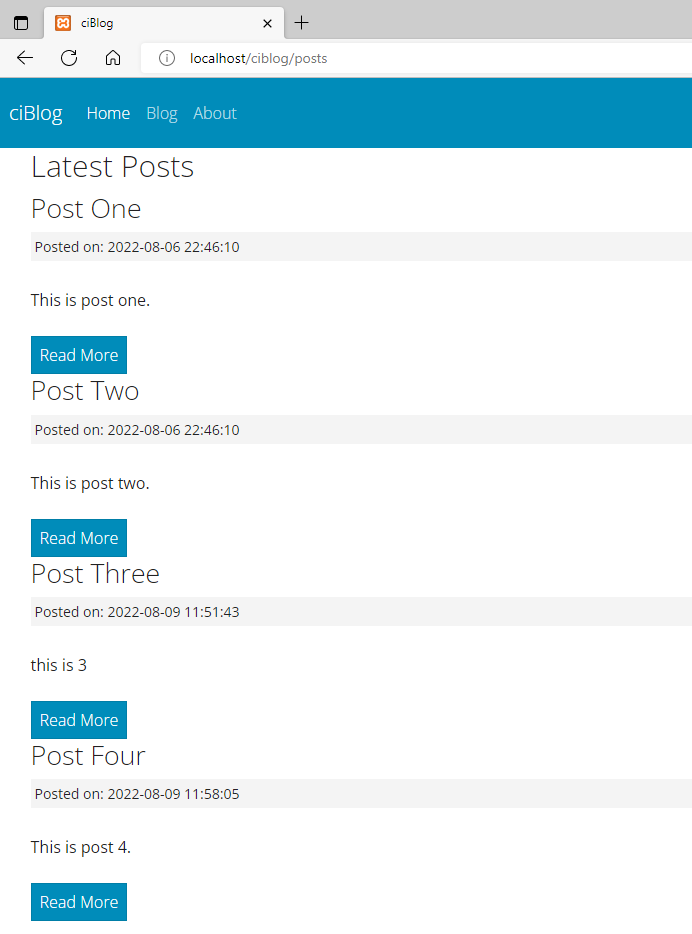
1-9 新帖在上
可以看到,帖子是旧的在上面。我们改一下,让最新的帖子在最上面。 修改models/Post_model.php,在get_posts函数中添加一行:
$this->db->order_by('id', 'DESC');
完整函数如下:
public function get_posts($slug = FALSE){
  if($slug === FALSE){
    $this->db->order_by('id', 'DESC');
    $query = $this->db->get('posts');
    return $query->result_array();
  }

  $query = $this->db->get_where('posts', array('slug' => $slug));
  return $query->row_array();
}
OK,现在的帖子就是最新的在上面了。
二、添加删除帖子的功能
2-1 修改view
在views/posts/view.php的末尾,增加:
<hr>
<?php echo form_open('posts/delete/'.$post['id']); ?>
  <input type='submit' value="Delete" class="btn btn-danger">
</form>
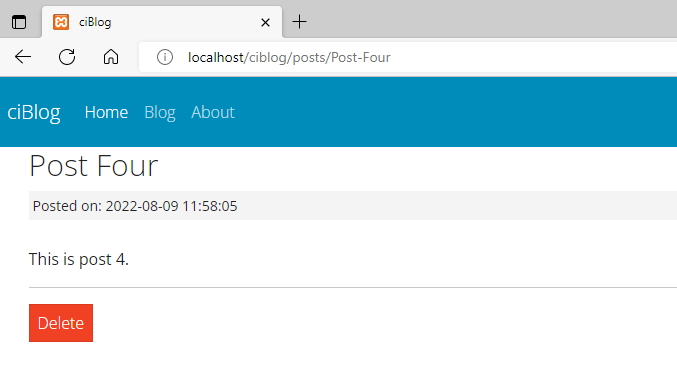
此时点击Delete会打开http://localhost/ciblog/posts/delete/4,目前还是404页面。
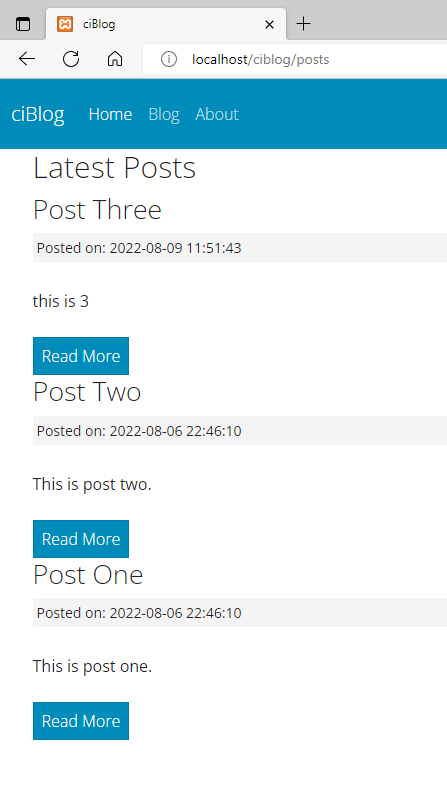
2-2 修改controller
controller/Posts.php 添加:
public function delete($id){
  $this->post_model->delete_post($id);
  redirect('posts');
}
2-3 修改model
model/Post_model.php 添加:
public function delete_post($id){
  $this->db->where('id', $id);
  $this->db->delete('posts');
  return true;
}
好,现在点击Delete,会成功把帖子删掉了。
三、 添加编辑帖子的功能
3-1 修改view
打开 views/posts/view.php,在Delete按钮前添加:
<a class="btn btn-outline-primary" href="<?php echo base_url(); ?>posts/edit/<?php echo $post['slug']; ?>">Edit</a>
3-2 修改controller
controllers/Posts.php
public function edit($slug){
  $data['post'] = $this->post_model->get_posts($slug);

  if(empty($data['post'])){
    show_404();
  }

  $data['title'] = "Edit Post";

  $this->load->view('templates/header');
  $this->load->view('posts/edit', $data);
  $this->load->view('templates/footer');
}
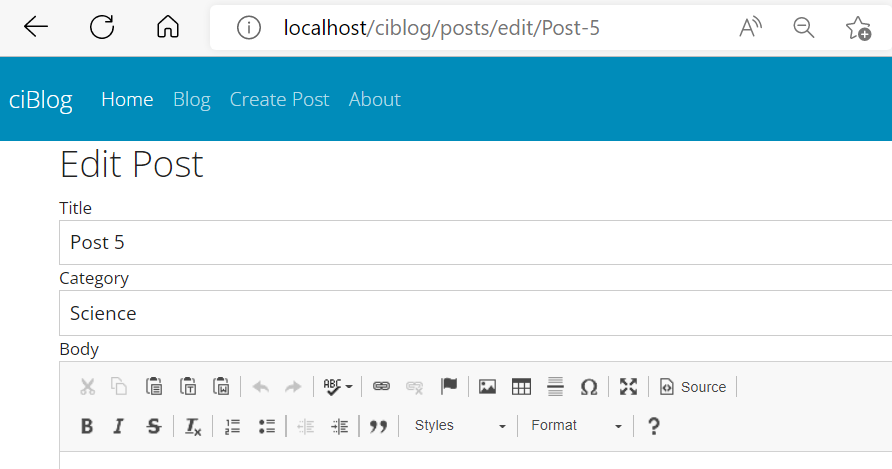
3-3 新建 编辑帖子 的view
新建views/posts/edit.php
<h2><?= $title; ?></h2>

<?php echo validation_errors(); ?>

<?php echo form_open('posts/update'); ?>

  <input type="hidden" name="id" value="<?php echo $post['id']; ?>">

  <div class="form-group">
    <label>Title</label>
    <input type="text" class="form-control" name="title" placeholder="Add Title" value="<?php echo $post['title']; ?>">
  </div>

  <div class="form-group">
    <label>Body</label>
    <textarea class="form-control" name="body" placeholder="Add Body"><?php echo $post['body']; ?></textarea>
  </div>

  <button type="submit" class="btn btn-primary">Submit</button>
</form>
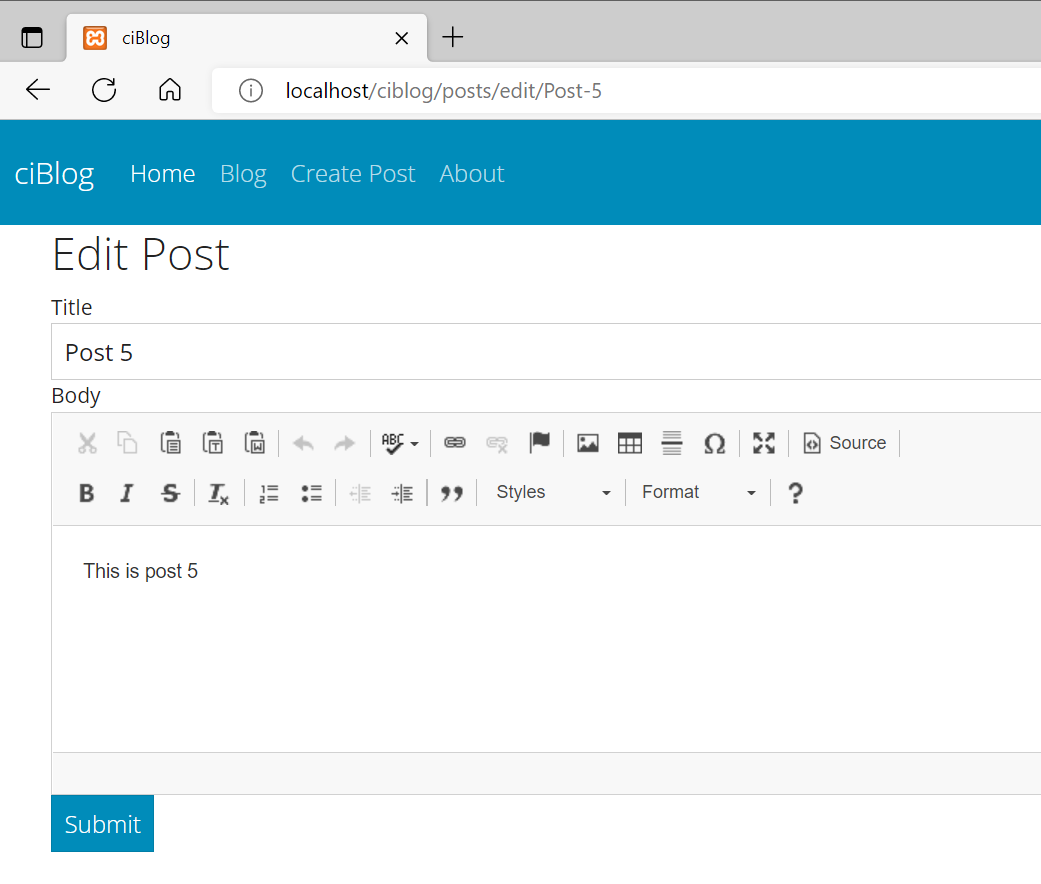
目前效果如下:

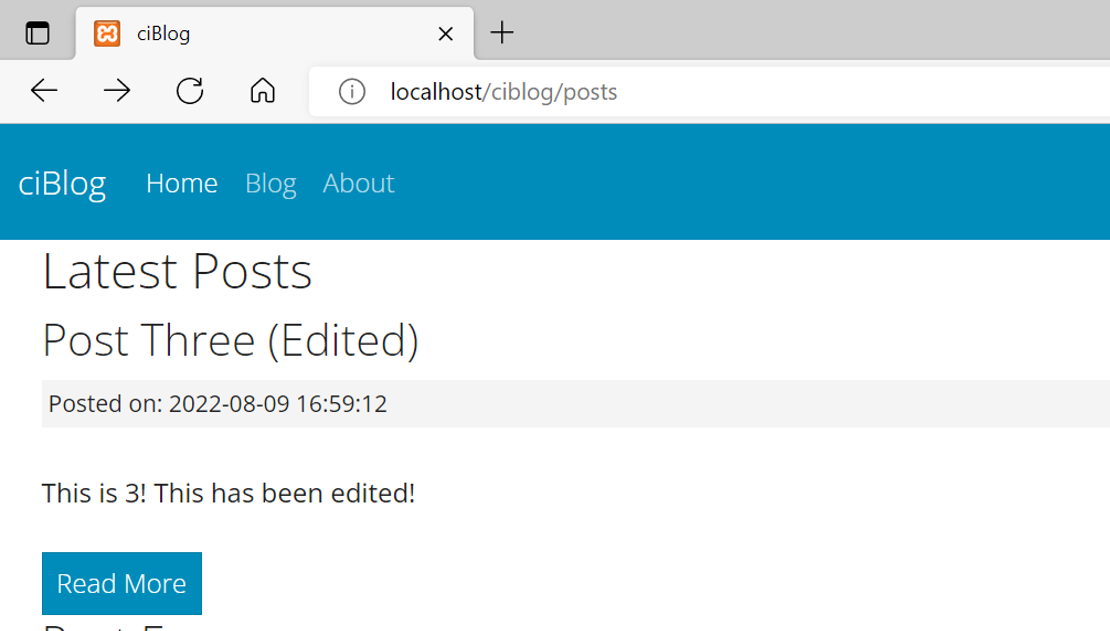
3-4 再次修改controller
controller/Posts.php,加入update函数:
public function update(){
  $this->post_model->update_post();
  redirect('posts');
}
3-5 修改routes
config/routes.php
<?php
defined('BASEPATH') OR exit('No direct script access allowed');

$route['posts/create'] = 'posts/create';
$route['posts/update'] = 'posts/update'; //添加此行<----
$route['posts/(:any)'] = 'posts/view/$1';
$route['posts'] = 'posts/index';

$route['default_controller'] = 'pages/view';
$route['(:any)'] = 'pages/view/$1';

$route['404_override'] = '';
$route['translate_uri_dashes'] = FALSE;
3-6 修改model
model/Post_model.php添加update_post函数:
public function update_post(){
  $slug = url_title($this->input->post('title'));

  $data = array(
    'title' => $this->input->post('title'),
    'slug' => $slug,
    'body' => $this->input->post('body')
  );

  $this->db->where('id', $this->input->post('id'));
  return $this->db->update('posts', $data);
}
四、添加导航条链接
在views/templates/header.php中,添加:
<li class="nav-item">
  <a class="nav-link" href="<?php echo base_url(); ?>posts/create">Create Post</a>
</li>
五、给发帖页面添加HTML编辑器CKEditor
5-1 修改header.php
在 views/templates/header.php 中,之前,添加:
<script src="http://cdn.ckeditor.com/4.19.1/standard/ckeditor.js"></script>
5-2 修改footer.php
修改后的 views/templates/footer.php 如下:
 </div>
  </body>
  <script>
    CKEDITOR.replace('editor1');
  </script>
</html>
5-3 修改view
views/posts/create.php,给textarea增加id="editor1"
<div class="form-group">
  <label>Body</label>
  <textarea id="editor1" class="form-control" name="body" placeholder="Add Body"></textarea>
</div>
效果如下图:
六、为帖子编辑页面添加CKEditor编辑器
修改views/posts/edit.php,给textarea增加id="editor1"
  <div class="form-group">
    <label>Body</label>
    <textarea id="editor1" class="form-control" name="body" placeholder="Add Body"><?php echo $post['body']; ?></textarea>
  </div>
至此,第二部分完成
Part 3
目标: 1)在帖子列表页面,只显示帖子的开头部分内容。 2)增加帖子的“分类”功能 3)增加“上传图片”功能
一、在帖子列表页面,只显示帖子的开头部分内容
1-1 使用text helper
config/autoload.php,在helper一句中添加text(约第92行):
$autoload['helper'] = array('url', 'form', 'text');
1-2
将
<?php echo $post['body']; ?>
改为
<?php echo word_limiter($post['body'], 20); ?>
其中的20为想要显示的字符数。
可以看到,在所有帖子的页面,已经实现了截短帖子的功能。

二、增加帖子的“分类”功能
2-1 新建数据表categories
在phpMyAdmin中,打开我们的数据库,新建数据表categories,并添加3个字段。

2-2 修改数据表posts
在数据表posts中,在id后增加一个新的字段category_id。

2-3
在数据表categories中,插入2条记录,Business和Technology。等效SQL指令:
INSERT INTO `categories` (`id`, `name`, `created_at`) VALUES (NULL, 'Business', current_timestamp()), (NULL, 'Technology', current_timestamp());
2-4 手动修改posts中各记录的category_id字段

2-5 在新建Post的页面增加选择Category的下拉框
2-5-1
修改controller/Posts.php中的create函数,增加一行:
$data['categories'] = $this->Post_model->get_categories();
2-5-2
修改models/Post_model.php,增加一个get_categories函数:
public function get_categories(){
  $this->db->order_by('name');
  $query = $this->db->get('categories');
  return $query->result_array();
}
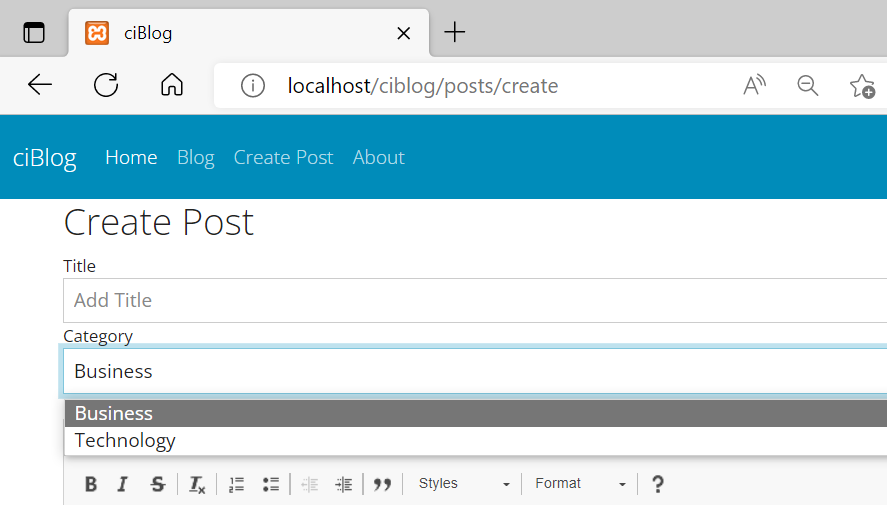
2-5-3 修改view
views/posts/create.php
<div class="form-group">
  <label>Category</label>
  <select name="category_id" class="form-control">
    <?php foreach($categories as $category): ?>
      <option value="<?php echo $category['id']; ?>"><?php echo $category['name']; ?></option>
    <?php endforeach; ?>
  </select>
</div>
目前的效果:
2-5-4
在Post_model.php中,create_post函数下:
将
$data = array(
  'title' => $this->input->post('title'),
  'slug' => $slug,
  'body' => $this->input->post('body')
);
修改为:
$data = array(
  'title' => $this->input->post('title'),
  'slug' => $slug,
  'body' => $this->input->post('body'),
  'category_id' => $this->input->post('category_id')
);
2-5-5
把update_post函数下的 $data 也用相同的方法一起改了!
2-5-6 join数据库
用$this->db->join把两个表连起来。 在model/Post_model.php的get_posts下:
public function get_posts($slug = FALSE){
  if($slug === FALSE){
    $this->db->order_by('posts.id','DESC'); //修改此行<----
    $this->db->join('categories', 'categories.id = posts.category_id'); //加入此行<----
    $query = $this->db->get('posts');
    return $query->result_array();
  }

  $query = $this->db->get_where('posts', array('slug' => $slug));
  return $query->row_array();
}
2-5-7 修改view
views/posts/index.php
把
<small class="post-date">Posted on: <?php echo $post['created_at']; ?></small><br>
修改为:
<small class="post-date">Posted on: <?php echo $post['created_at']; ?> in <strong><?php echo $post['name']; ?></strong></small><br>
2-5-8
views/posts/edit.php
  <div class="form-group">
    <label>Category</label>
    <select name="category_id" class="form-control">
      <?php foreach($categories as $category): ?>
        <option value="<?php echo $category['id']; ?>"><?php echo $category['name']; ?></option>
      <?php endforeach; ?>
    </select>
  </div>
2-5-9
修改controller/Posts.php中的edit函数,增加一行:
$data['categories'] = $this->Post_model->get_categories();
现在在编辑帖子时,就可以设置帖子的分类了。
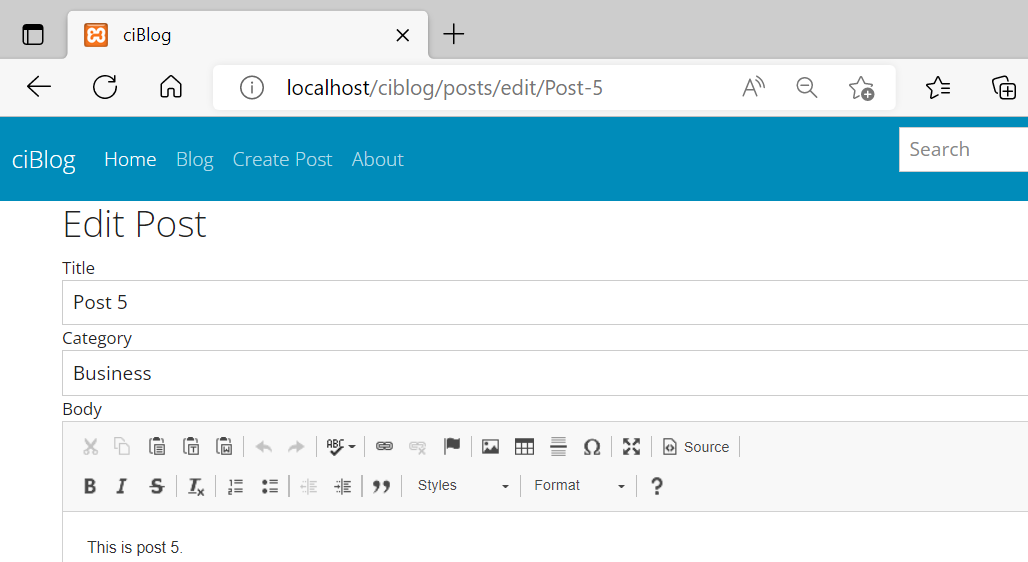
2-5-10 Category下拉框自动选中
注意!!! 原视频中,在帖子的编辑页面,Category的下拉框并不会根据帖子当前的分类自动选中对应的项目。增加一句代码 可以实现这个功能。
把views/posts/edit.php中的
  <div class="form-group">
    <label>Category</label>
    <select name="category_id" class="form-control">
      <?php foreach($categories as $category): ?>
        <option value="<?php echo $category['id']; ?>"><?php echo $category['name']; ?></option>
      <?php endforeach; ?>
    </select>
  </div>
改为:
  <div class="form-group">
    <label>Category</label>
    <select name="category_id" class="form-control">
      <?php foreach($categories as $category): ?>
        <option value="<?php echo $category['id']; ?>" <?php echo ($category['id'] == $post['category_id'])? 'selected':'' ?>><?php echo $category['name']; ?></option>
      <?php endforeach; ?>
    </select>
  </div>
这样就可以在编辑帖子时,Category一项自动读取当前的帖子分类并自动选中对应的项目。
三、增加“上传图片”功能
3-1 修改view
views/posts/create.php
把
<?php echo form_open('products/create'); ?>
改为:
<?php echo form_open_multipart('products/create'); ?>
并在下方增加:
  <div class="form-group">
    <label>Upload Image</label>
    <input type="file" name="userfile" size="20">
  </div>
效果如下:

3-2 修改controller
controller/Posts.php中的create函数:
public function create(){
  $data['title'] = 'Create a Post';

  $data['categories'] = $this->post_model->get_categories();

  $this->form_validation->set_rules('title', 'Title', 'required');
  $this->form_validation->set_rules('body', 'Body', 'required');

  if($this->form_validation->run() === FALSE){
    $this->load->view('templates/header');
    $this->load->view('posts/create', $data);
    $this->load->view('templates/footer');
  } else {
    //Upload Image
    $config['upload_path'] = './assets/images/posts';
    $config['allowed_types'] = 'gif|jpg|png';
    $config['max_size'] = '2048';
    $config['max_width'] = '4000';
    $config['max_height'] = '2000';

    $this->load->library('upload', $config);

    if(!$this->upload->do_upload()){ //if it's NOT uploaded
      //$errors = array('error' => $this->upload->display_error());
      $post_image = 'noimage.jpg';
    } else { //if it's uploaded
      $data = array('upload_data' => $this->upload->data());
      $post_image = $_FILES['userfile']['name']; //MUST BE userfile; also in create.php
    }

    $this->post_model->create_post($post_image);

    redirect('posts');
  }
}
3-3 新建images目录
在assets目录下,新建images/posts目录。
3-4 修改数据表
在posts表中,body字段后,添加一个新字段post_image:

3-5 model
public function create_post($post_image){ //添加$post_image作为传入参数
  $slug = url_title($this->input->post('title'));

  $data['categories'] = $this->post_model->get_categories();

  $data = array(
    'title' => $this->input->post('title'),
    'slug' => $slug,
    'body' => $this->input->post('body'),
    'category_id' => $this->input->post('category_id'),
    'post_image' => $post_image //添加这一行
  );

  return $this->db->insert('posts', $data);
}
现在在新建帖子时,已经可以上传图片了。只是暂时还不显示!
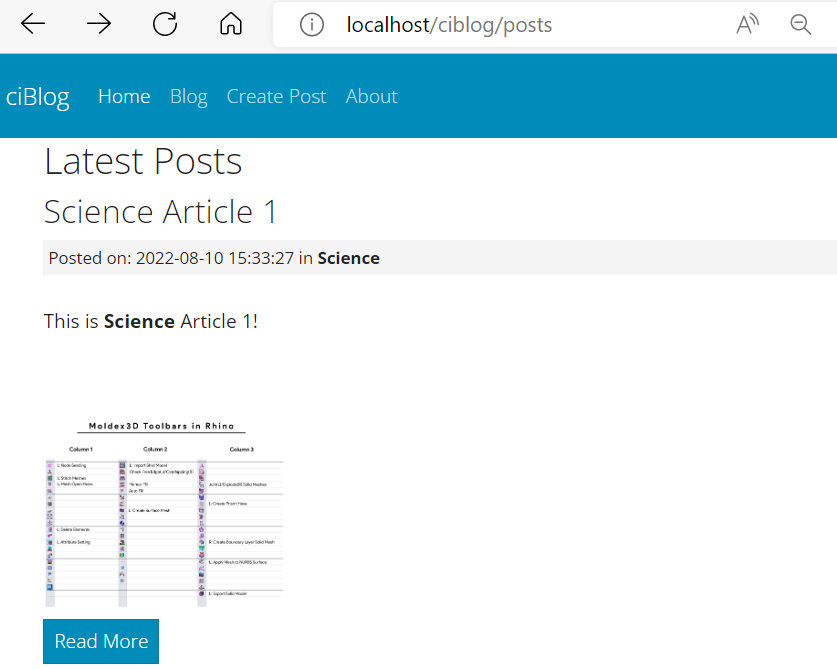
3-6 显示上传的图片
views/posts/index.php,在适当位置添加:
<div>
  <img class="post-thumbnail" style="width:200px;" src="<?php echo site_url(); ?>assets/images/posts/<?php echo $post['post_image']; ?>">
</div>
就可以看到,图片在posts/index页面上显示了。
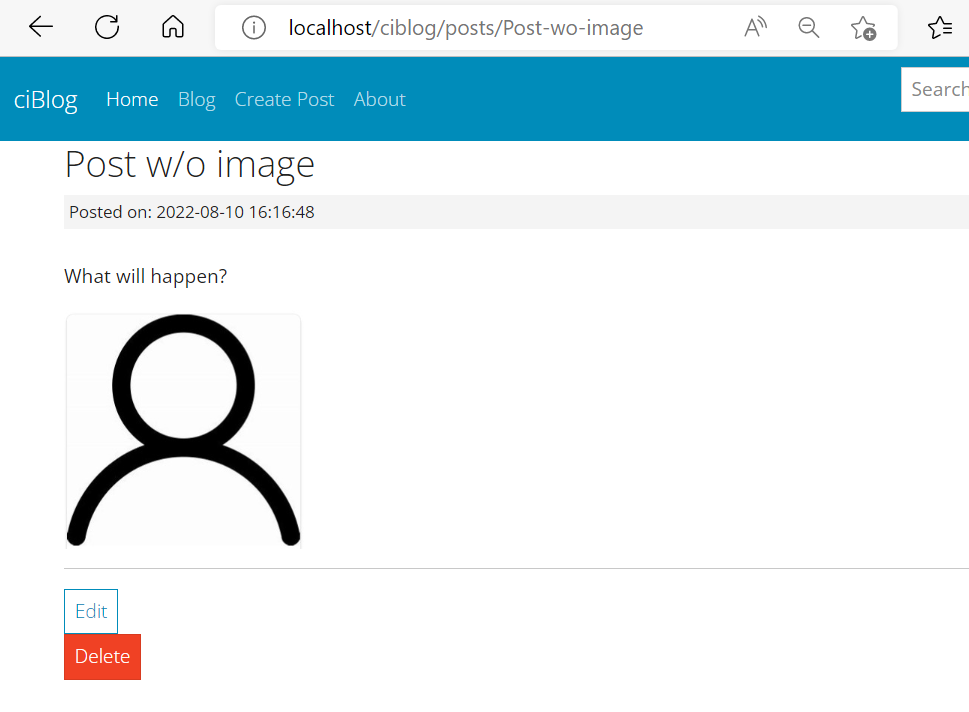
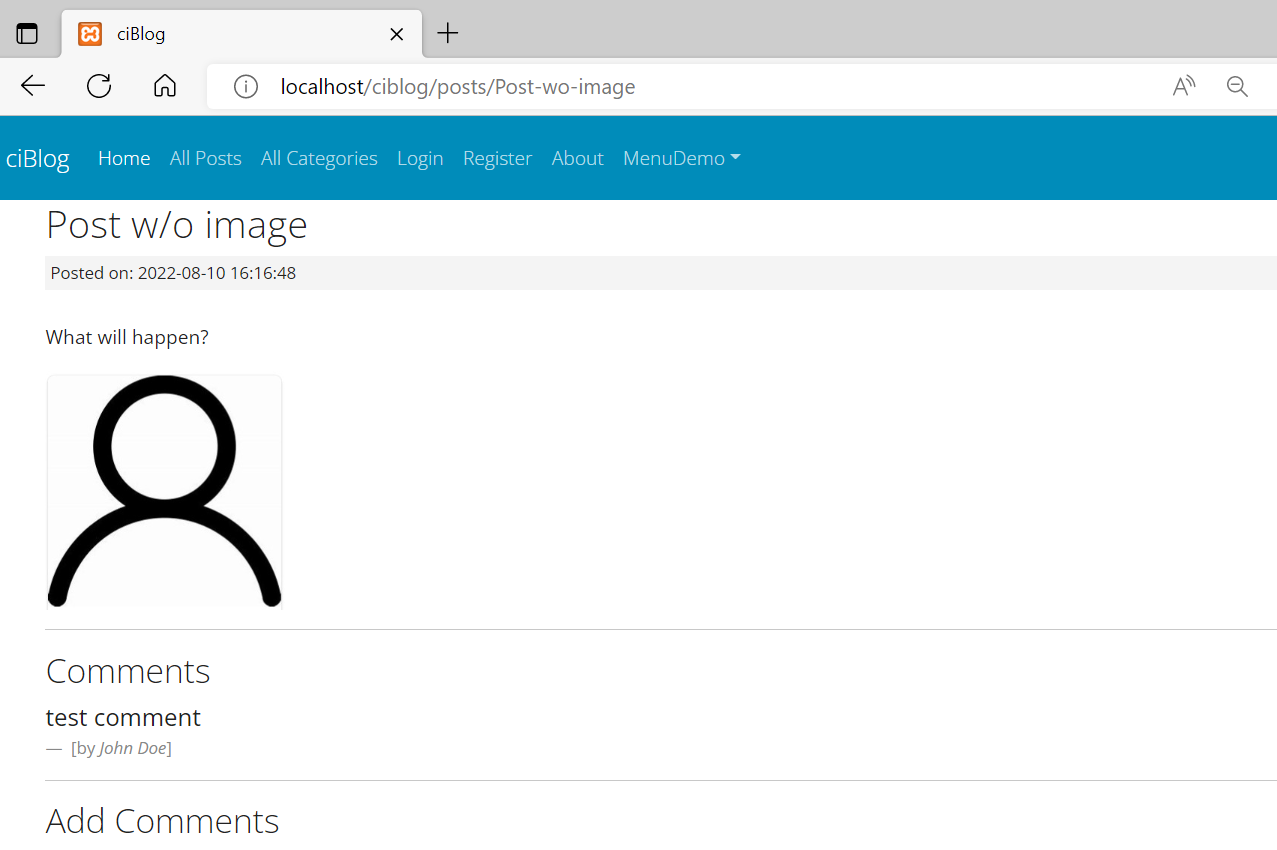
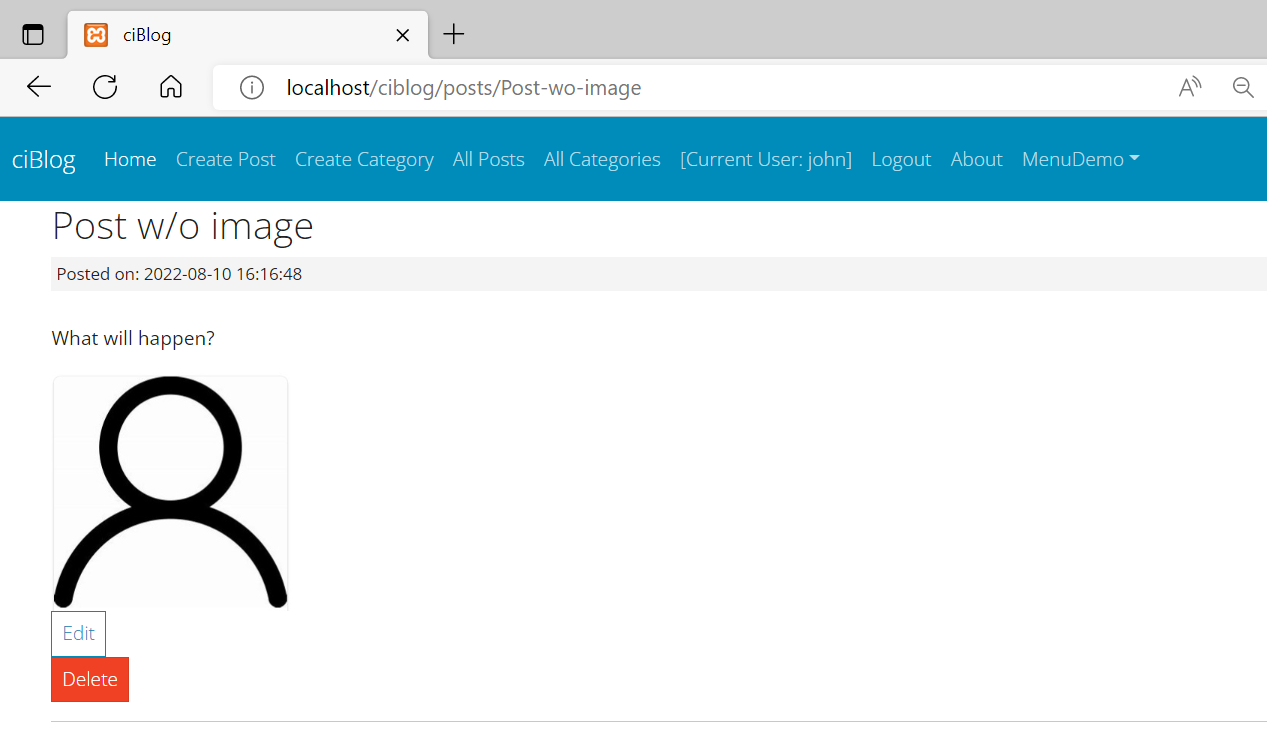
3-7
放一个noimage.jpg文件在assets/images/posts/目录下,在帖子没有图片时,默认使用此图片。效果如下:

(可选)我们可以在数据库中,手动给前面没有图片的帖子加上noimage.jpg
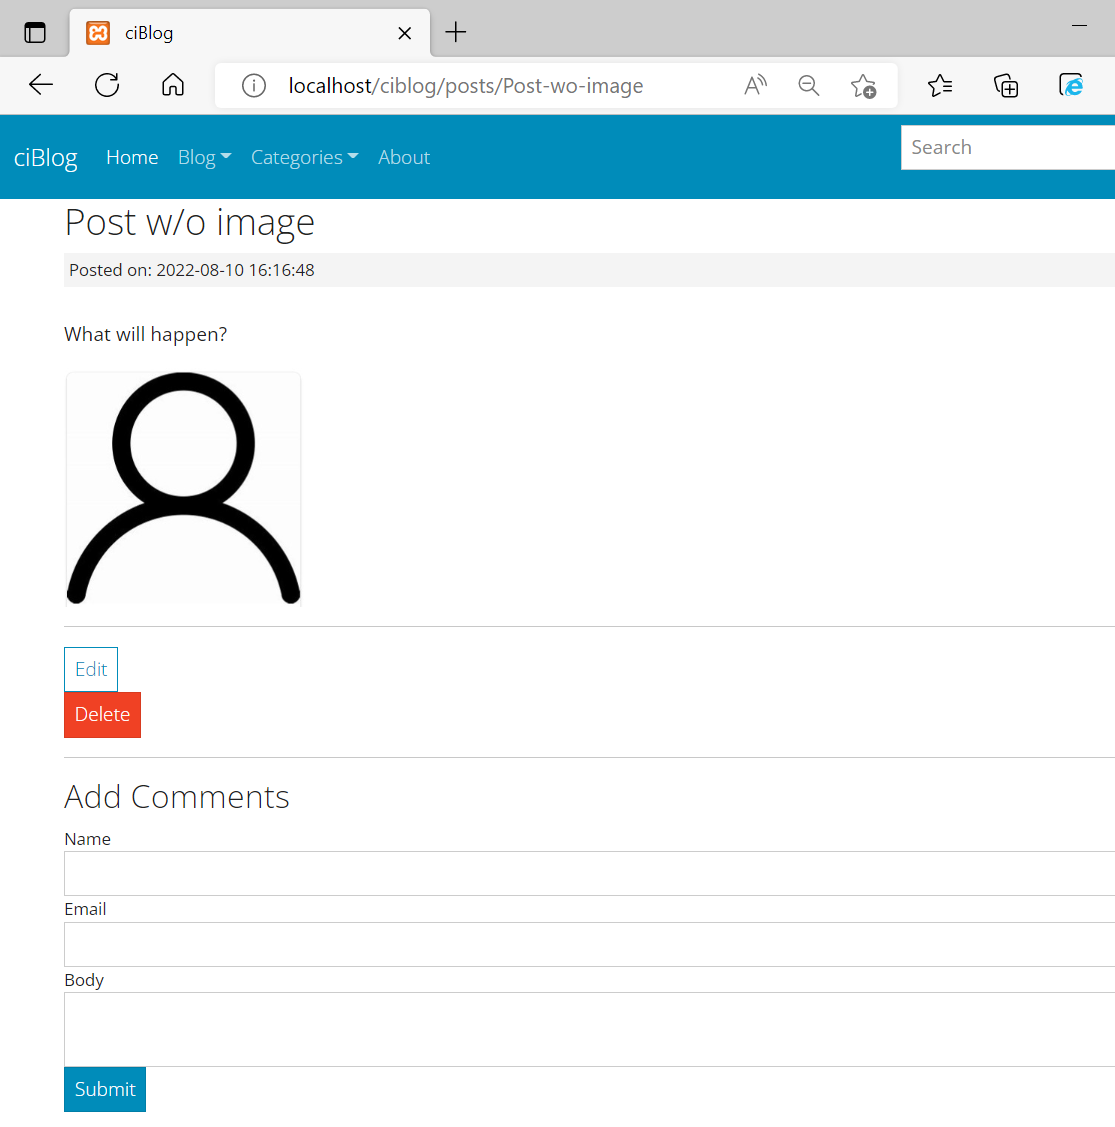
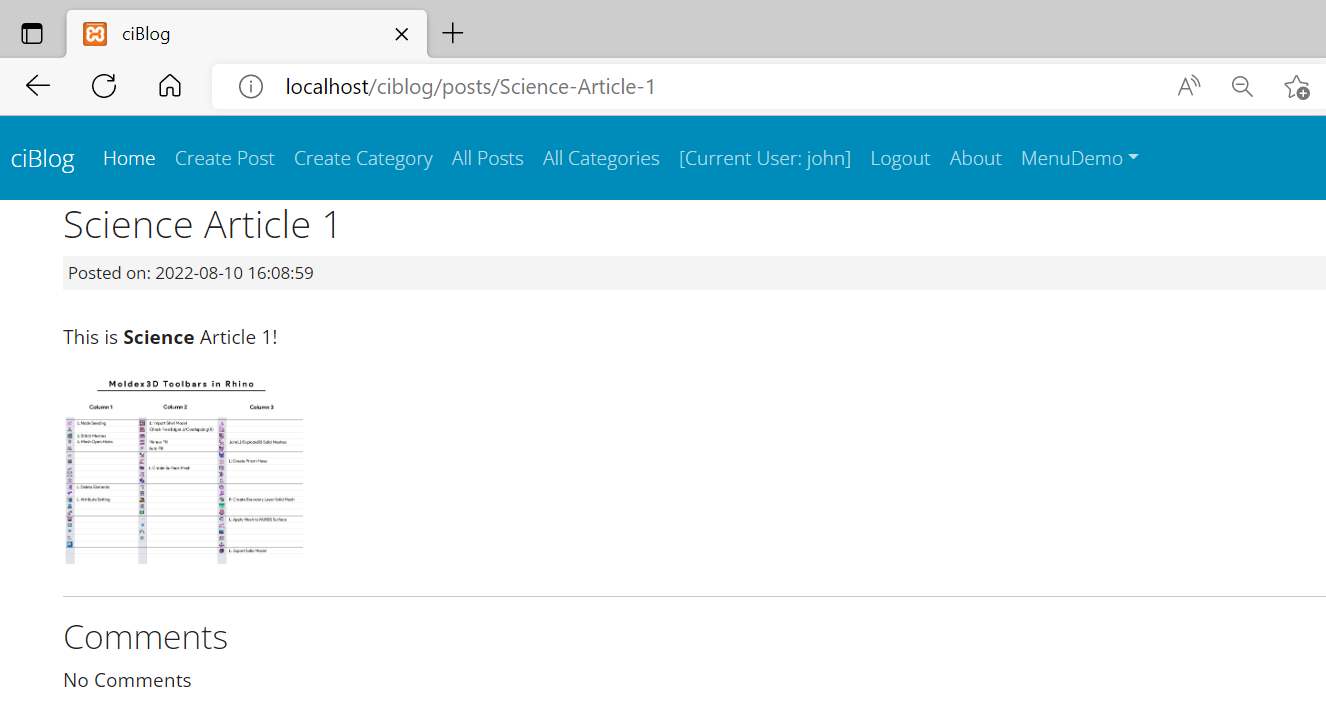
3-8 给帖子的查看页面加上图片显示
views/posts/view.php
<div>
    <img class="post-thumbnail" style="width:200px;" src="<?php echo site_url(); ?>assets/images/posts/<?php echo $post['post_image']; ?>">
</div>
效果如下:
至此,第三部分完成
Part 4
本节目标: 1)添加分类 2)按分类显示帖子
一、添加分类
1-1 新建controller
新建controller/Categories.php文件,完整内容如下:
<?php
  class Categories extends CI_Controller {
    public function create(){
      $data['title'] = 'Create Category';

      $this->form_validation->set_rules('name', 'Name', 'required');

      if($this->form_validation->run() === FALSE){
        $this->load->view('templates/header');
        $this->load->view('categories/create', $data);
        $this->load->view('templates/footer');
      } else {
        $this->category_model->create_category();
        redirect(categories);
      }
    }
  }
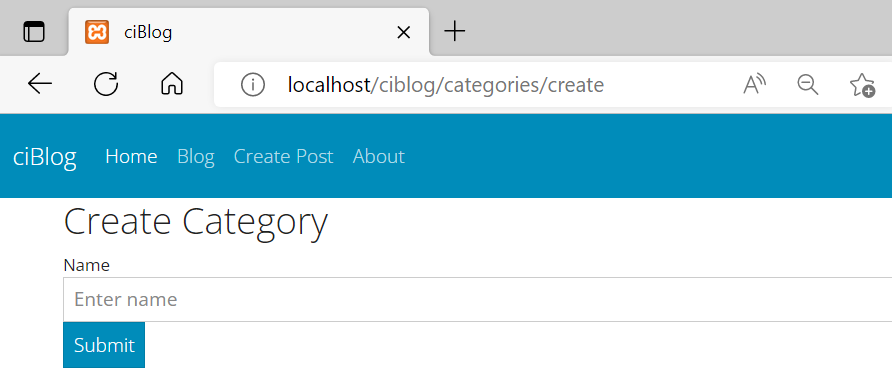
1-2 新建view
新建views/categories/create.php文件,完整内容如下:
<h2><?= $title; ?></h2>

<?php echo validation_errors(); ?>

<?php echo form_open_multipart('categories/create'); ?>
  <div class="form-group">
    <label>Name</label>
    <input type="text" class="form-control" name="name" placeholder="Enter name">
  </div>

  <button type="submit" class="btn btn-primary">Submit</button>

</form>
1-3 修改routes
添加2行后,完整内容如下:
<?php
defined('BASEPATH') OR exit('No direct script access allowed');

$route['posts/create'] = 'posts/create';
$route['posts/update'] = 'posts/update';
$route['posts/(:any)'] = 'posts/view/$1';
$route['posts'] = 'posts/index';

$route['default_controller'] = 'pages/view';
$route['categories'] = 'categories/index'; //添加这一行<----
$route['categories/create'] = 'categories/create'; //添加这一行<----

$route['(:any)'] = 'pages/view/$1';
$route['404_override'] = '';
$route['translate_uri_dashes'] = FALSE;
当访问categories/create页面时,运行categories这个controller中的create函数。 效果如下:
1-4 把model加到autoload中
修改config/autoload.php的最后一行为:
$autoload['model'] = array('post_model', 'category_model');
1-5 新建model
新建models/Category_model.php,完整内容如下:
<?php
  class Category_model extends CI_Model {
    public function __construct(){
      $this->load->database();
    }

    public function create_category(){
      $data = array(
        'name' => $this->input->post('name')
      );

      return $this->db->insert('categories', $data);
    }
  }
1-6 在controller中新建index函数
controller/Categories.php
public function index(){
  $data['title'] = 'Categories';

  $data['categories'] = $this->category_model->get_categories();

  $this->load->view('templates/header');
  $this->load->view('categories/index', $data);
  $this->load->view('templates/footer');
}
这儿的顺序和视频中稍有不同,只是为了更条理,完全不影响程序。
1-7
在models/Category_model.php中添加:
public function get_categories(){
  $this->db->order_by('name');
  $query = $this->db->get('categories');
  return $query->result_array();
}
1-8 在导航条中添加新建分类的菜单项
header.php完整内容如下:
<html>
  <head>
    <title>ciBlog</title>
    <meta charset="UTF-8">
    <link rel="stylesheet" href="https://cdn.jsdelivr.net/npm/bootswatch@5.2.0/dist/yeti/bootstrap.min.css">
    <link rel="stylesheet" href="<?php echo base_url(); ?>assets/css/style.css">
    <script src="https://cdn.jsdelivr.net/npm/bootstrap@5.1.3/dist/js/bootstrap.min.js" integrity="sha384-QJHtvGhmr9XOIpI6YVutG+2QOK9T+ZnN4kzFN1RtK3zEFEIsxhlmWl5/YESvpZ13" crossorigin="anonymous"></script>
    <script src="http://cdn.ckeditor.com/4.19.1/standard/ckeditor.js"></script>
  </head>
  <body>

    <nav class="navbar navbar-expand-lg navbar-dark bg-primary">
      <div class="container-fluid">
        <a class="navbar-brand" href="<?php echo base_url(); ?>">ciBlog</a>
        <button class="navbar-toggler" type="button" data-bs-toggle="collapse" data-bs-target="#navbarColor01" aria-controls="navbarColor01" aria-expanded="false" aria-label="Toggle navigation">
          <span class="navbar-toggler-icon"></span>
        </button>
        <div class="collapse navbar-collapse" id="navbarColor01">
          <ul class="navbar-nav me-auto">
            <li class="nav-item">
              <a class="nav-link active" href="<?php echo base_url(); ?>">Home
                <span class="visually-hidden">(current)</span>
              </a>
            </li>

            <li class="nav-item dropdown">
                  <a class="nav-link dropdown-toggle" data-bs-toggle="dropdown" href="#" role="button" aria-haspopup="true" aria-expanded="false">Blog</a>
                  <div class="dropdown-menu">
                    <a class="dropdown-item" href="<?php echo base_url(); ?>posts">All Posts</a>
                    <a class="dropdown-item" href="<?php echo base_url(); ?>posts/create">Create</a>
                    <a class="dropdown-item" href="#">Somethire</a>
                    <div class="dropdown-divider"></div>
                    <a class="dropdown-item" href="#">Separated link</a>
                  </div>
                </li>
            <li class="nav-item dropdown">
                  <a class="nav-link dropdown-toggle" data-bs-toggle="dropdown" href="#" role="button" aria-haspopup="true" aria-expanded="false">Categories</a>
                  <div class="dropdown-menu">
                    <a class="dropdown-item" href="<?php echo base_url(); ?>categories">All Categories</a>
                    <a class="dropdown-item" href="<?php echo base_url(); ?>categories/create">Create Category</a>
                    <a class="dropdown-item" href="#">Somethire</a>
                    <div class="dropdown-divider"></div>
                    <a class="dropdown-item" href="#">Separated link</a>
                  </div>
                </li>

            <li class="nav-item">
              <a class="nav-link" href="<?php echo base_url(); ?>about">About</a>
            </li>
          </ul>
          <form class="d-flex">
            <input class="form-control me-sm-2" type="text" placeholder="Search">
            <button class="btn btn-secondary my-2 my-sm-0" type="submit">Search</button>
          </form>
        </div>
      </div>
    </nav>

    <div class="container">
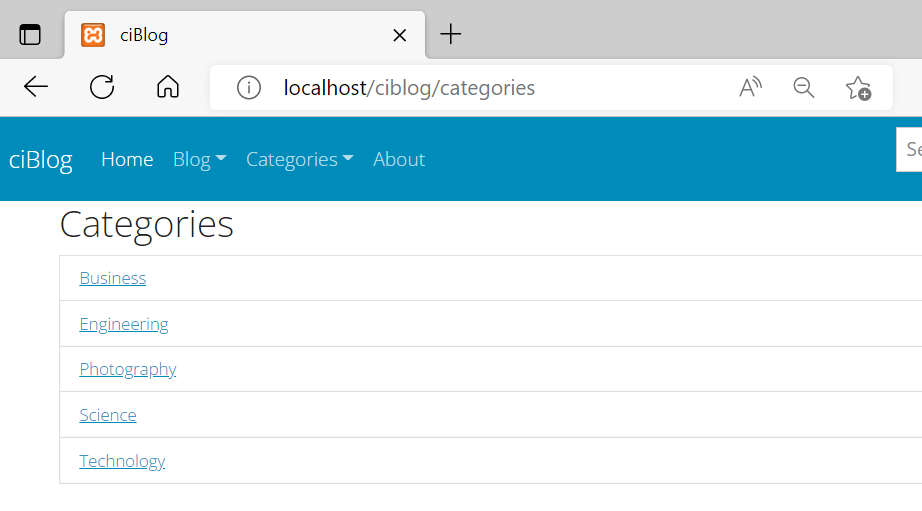
1-9 新建view
新建views/categories/index.php
<h2><?= $title; ?></h2>

<ul class="list-group">
  <?php foreach($categories as $category) : ?>
    <li class="list-group-item">
      <a href="<?php echo site_url('/categories/posts/'.$category['id']); ?>"><?php echo $category['name']; ?></a>
    </li>
  <?php endforeach; ?>
</ul>
目前效果如下。链接点击后跳转的页面还没有,所以会404。
二、按分类显示帖子
2-1 修改routes
在config/routes.php中,添加一行:
$route['categories/posts/(:any)'] = 'categories/posts/$1';
完整内容:
<?php
defined('BASEPATH') OR exit('No direct script access allowed');

$route['posts/create'] = 'posts/create';
$route['posts/update'] = 'posts/update';
$route['posts/(:any)'] = 'posts/view/$1';
$route['posts'] = 'posts/index';

$route['default_controller'] = 'pages/view';

$route['categories'] = 'categories/index';
$route['categories/create'] = 'categories/create';
$route['categories/posts/(:any)'] = 'categories/posts/$1';

$route['(:any)'] = 'pages/view/$1';
$route['404_override'] = '';
$route['translate_uri_dashes'] = FALSE;
既然指向'categories/posts/$1',我们就需要在categories这个controller中创建一个posts函数。
2-2 修改controller
在categories这个controller中创建一个posts函数,它的作用是,根据传入的category id来取出所有此分类下的帖子,并显示出来。
public function posts($id){
  $data['title'] = $this->category_model->get_category($id)->name;

  $data['posts'] = $this->post_model->get_posts_by_category($id);

  $this->load->view('templates/header');
  $this->load->view('posts/index', $data);
  $this->load->view('templates/footer');
}
2-3 修改Category_model
在Category_model.php中添加:
public function get_category($id){
  $query = $this->db->get_where('categories', array('id' => $id));
  return $query->row();
}
2-4 修改Post_model
在Post_model.php中添加一个函数:
public function get_posts_by_category($category_id){
  $this->db->order_by('posts.id','DESC');
  $this->db->join('categories', 'categories.id = posts.category_id');
  $query = $this->db->get_where('posts', array('category_id' => $category_id));
  return $query->result_array();
}
完成!效果不错:
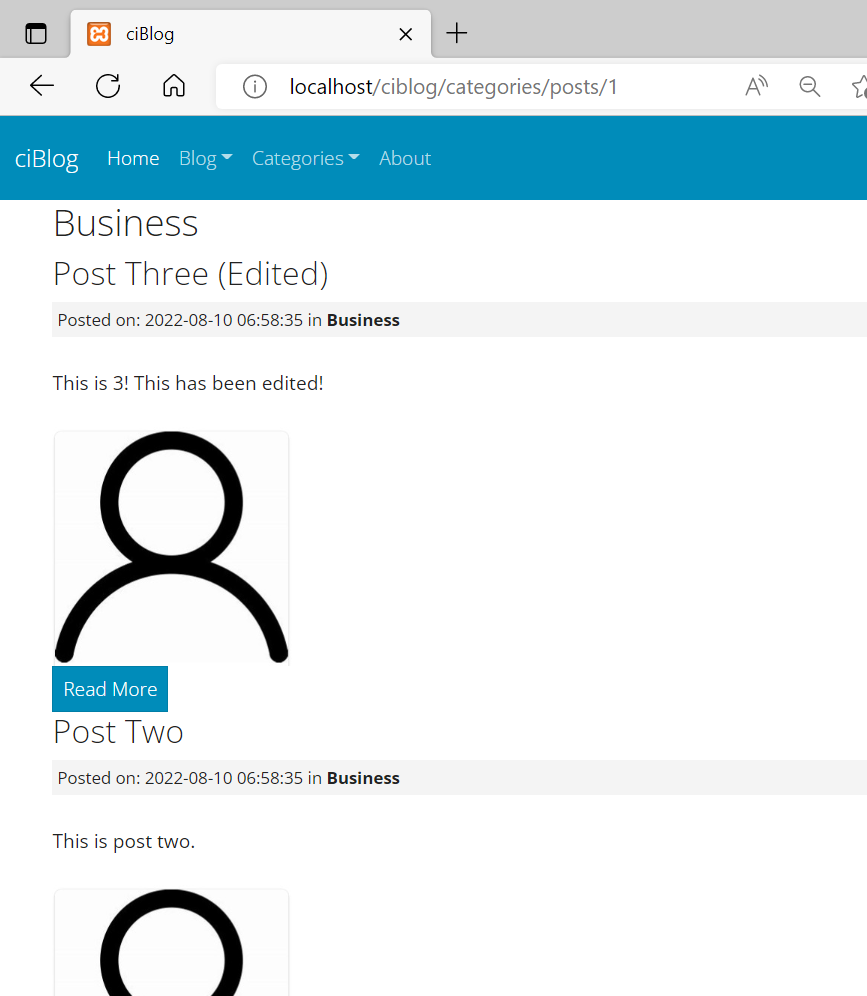
至此,第四部分完成!
Part 5
本节目标: 添加comment功能
一、添加comment功能
1-1 新建controller
controller/Comments.php
<?php
  class Comments extends CI_Controller{
    public function create($post_id){
      $slug = $this->input->post('slug');
      $data['post'] = $this->post_model->get_posts($slug);

      $this->form_validation->set_rules('name', 'Name', 'required');
      $this->form_validation->set_rules('email', 'Email', 'required');
      $this->form_validation->set_rules('body', 'Body', 'required');

      if($this->form_validation->run() === FALSE) {
        $this->load->view('templates/header');
        $this->load->view('posts/view', $data);
        $this->load->view('templates/footer');
      } else {
        $this->comment_model->create_comment($post_id);
        redirect('posts/'.$slug);
      }

    }
  }
1-2 新建model
models/Comment_model.php
<?php
  class Comment_model extends CI_Model{
    public function __construct(){
      $this->load->database();
    }

    public function create_comment($post_id){
      $data = array(
        'post_id' => $post_id,
        'name' => $this->input->post('name'),
        'email' => $this->input->post('email'),
        'body' => $this->input->post('body')
      );

      return $this->db->insert('comments', $data);
    }

    public function get_comments($post_id){
      $this->db->order_by('comments.id','DESC');
      $query = $this->db->get_where('comments', array('post_id' => $post_id));
      return $query->result_array();
    }
  }
1-3 修改autoload,加入Comment_model
$autoload['model'] = array('post_model', 'category_model', 'comment_model');
1-4 view
views/posts/view.php,在末尾添加:
<hr>
<h3>Add Comments</h3>

<?php echo validation_errors(); ?>

<?php echo form_open('comments/create/'.$post['id']); ?>
  <div class="form-group">
    <label>Name</label>
    <input type="text" name="name" class="form-control">
  </div>

  <div class="form-group">
    <label>Email</label>
    <input type="text" name="email" class="form-control">
  </div>

  <div class="form-group">
    <label>Body</label>
    <textarea name="body" class="form-control"></textarea>
  </div>

  <input type="hidden" name="slug" value="<?php echo $post['slug']; ?>">

  <button class="btn btn-primary" type="submit">Submit</button>
</form>
1-5 修改数据库
添加一个表comments,并添加6个字段,如下:

目前的效果如下图:
目前可以成功添加comment了,但是添加完之后暂时不显示。 接下来,我们让帖子显示相关的comment。
1-6 修改controller
controller/Posts.php中,修改view函数为:
public function view($slug = NULL) {
  $data['post'] = $this->post_model->get_posts($slug);
  $post_id = $data['post']['id']; //添加此行<----
  $data['comments'] = $this->comment_model->get_comments($post_id); //添加此行<----

  if(empty($data['post'])){
    show_404();
  }

  $data['title'] = $data['post']['title'];

  $this->load->view('templates/header');
  $this->load->view('posts/view', $data);
  $this->load->view('templates/footer');
}
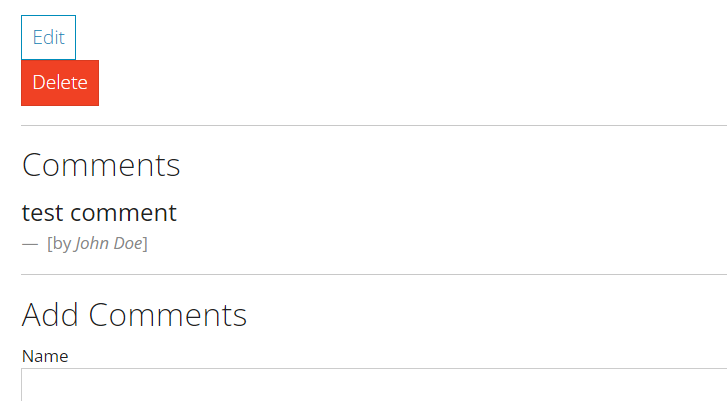
1-7 修改view
在views/posts/view.php中,添加显示comments的功能:
<hr>
<h3>Comments</h3>
<?php if($comments) : ?>
  <?php foreach($comments as $comment) : ?>
    <h5>  </h5>

    <figure>
      <blockquote class="blockquote">
        <p class="mb-0"><?php echo $comment['body']; ?></p>

      </blockquote>
      <figcaption class="blockquote-footer">
        [by <cite title="Source Title"><?php echo $comment['name']; ?></cite>]
      </figcaption>
    </figure>

  <?php endforeach; ?>
<?php else : ?>
  <p>No Comments</p>
<?php endif; ?>
妥了。
至此,第五部分完成!
Part 6
本节目标: 增加用户注册功能
说明: 本文不完全按照原视频的顺序,目前调整后的顺序更加条理易读。
一、增加用户注册功能
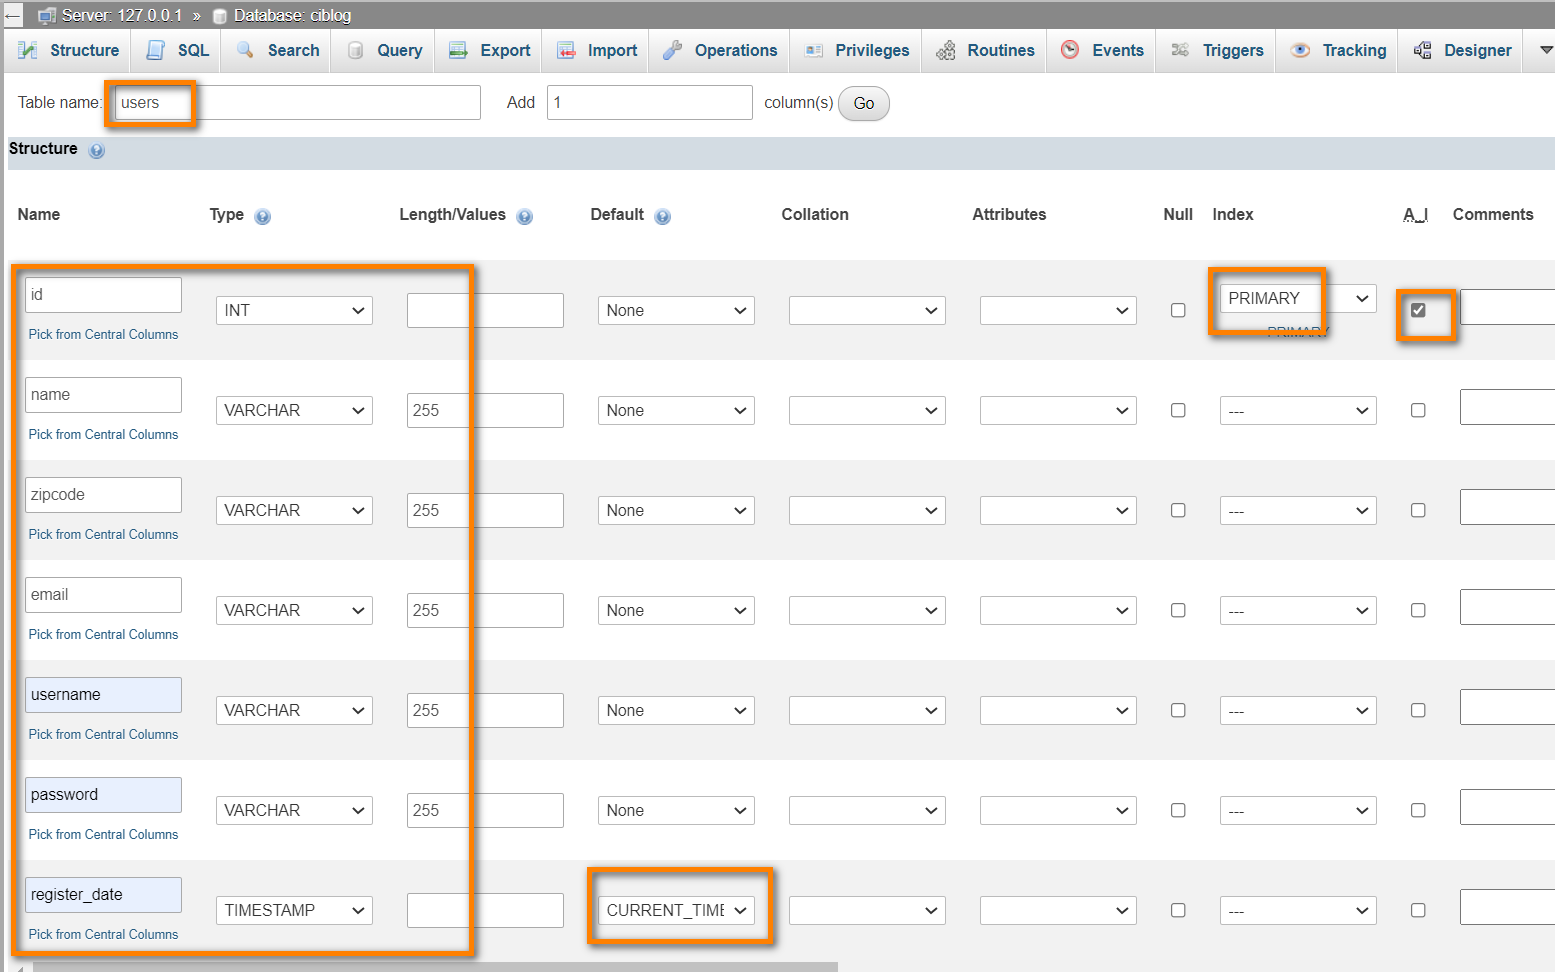
1-1 新建数据表users
新建表users,并添加7个字段,如下图。
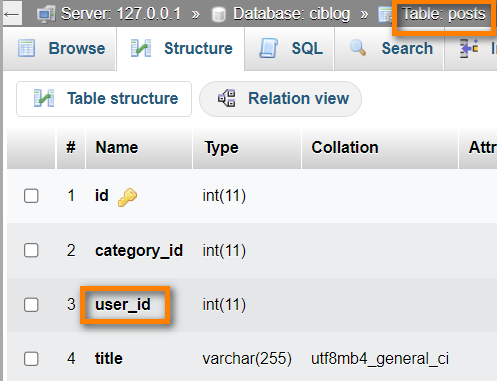
1-2 在posts数据表中添加字段
在posts数据表中,添加一个字段user_id,用来记录帖子的作者,这样可以实现只有作者才能执行的一些功能。
1-3 新建controller
新建controller/Users.php,内容如下:
<?php
  class Users extends CI_Controller{
    public function register()
    {
      $data['title'] = "Sign Up";

      $this->form_validation->set_rules('name', 'Name', 'required');
      $this->form_validation->set_rules('username', 'Username', 'required');
      $this->form_validation->set_rules('email', 'Email', 'required');
      $this->form_validation->set_rules('password', 'Password', 'required');
      $this->form_validation->set_rules('password2', 'Confirm Password', 'matches[password]');

      if($this->form_validation->run() === FALSE){
        $this->load->view('templates/header');
        $this->load->view('users/register', $data);
        $this->load->view('templates/footer');
      } else {
        // Encrypt password
        $enc_password = md5($this->input->post('password'));

        $this->user_model->register($enc_password);

        redirect('posts');
      }
    }
  }
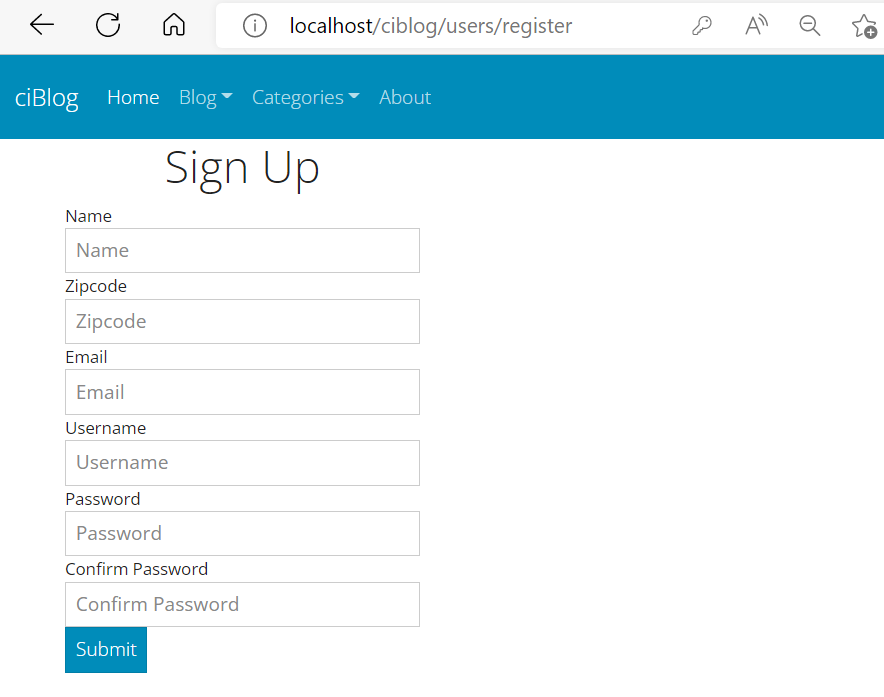
1-4 修改view
新建views/users/register.php,内容如下:
<?php echo validation_errors(); ?>

<?php echo form_open('users/register'); ?>
  <div class="row">
    <div class="col-md-4 col-md-offset-4">
      <h1 class="text-center"><?= $title; ?></h1>
      <div class="form-group">
        <label>Name</label>
        <input type="text" class="form-control" name="name" placeholder="Name">
      </div>
      <div class="form-group">
        <label>Zipcode</label>
        <input type="text" class="form-control" name="zipcode" placeholder="Zipcode">
      </div>
      <div class="form-group">
        <label>Email</label>
        <input type="email" class="form-control" name="email" placeholder="Email">
      </div>
      <div class="form-group">
        <label>Username</label>
        <input type="text" class="form-control" name="username" placeholder="Username">
      </div>
      <div class="form-group">
        <label>Password</label>
        <input type="password" class="form-control" name="password" placeholder="Password">
      </div>
      <div class="form-group">
        <label>Confirm Password</label>
        <input type="password" class="form-control" name="password2" placeholder="Confirm Password">
      </div>
      <button type="submit" class="btn btn-primary btn-block">Submit</button>
    </div>
  </div>
<?php echo form_close(); ?>
1-5 新建User_model
models/User_model.php,内容如下:
<?php
  class User_model extends CI_Model {
    public function register($enc_password){
      $data = array(
        'name' => $this->input->post('name'),
        'email' => $this->input->post('email'),
                'username' => $this->input->post('username'),
                'password' => $enc_password,
                'zipcode' => $this->input->post('zipcode')
      );

      // Insert user
      return $this->db->insert('users', $data);
    }
  }
1-6 添加model到autoload
修改config/autoload.php的最后一行:
$autoload['model'] = array('post_model', 'category_model', 'comment_model', 'user_model');
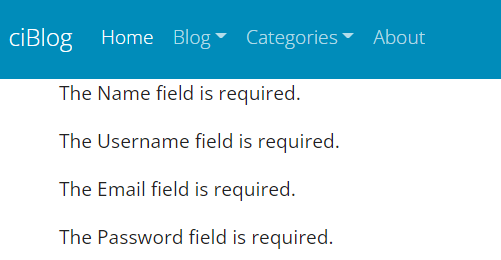
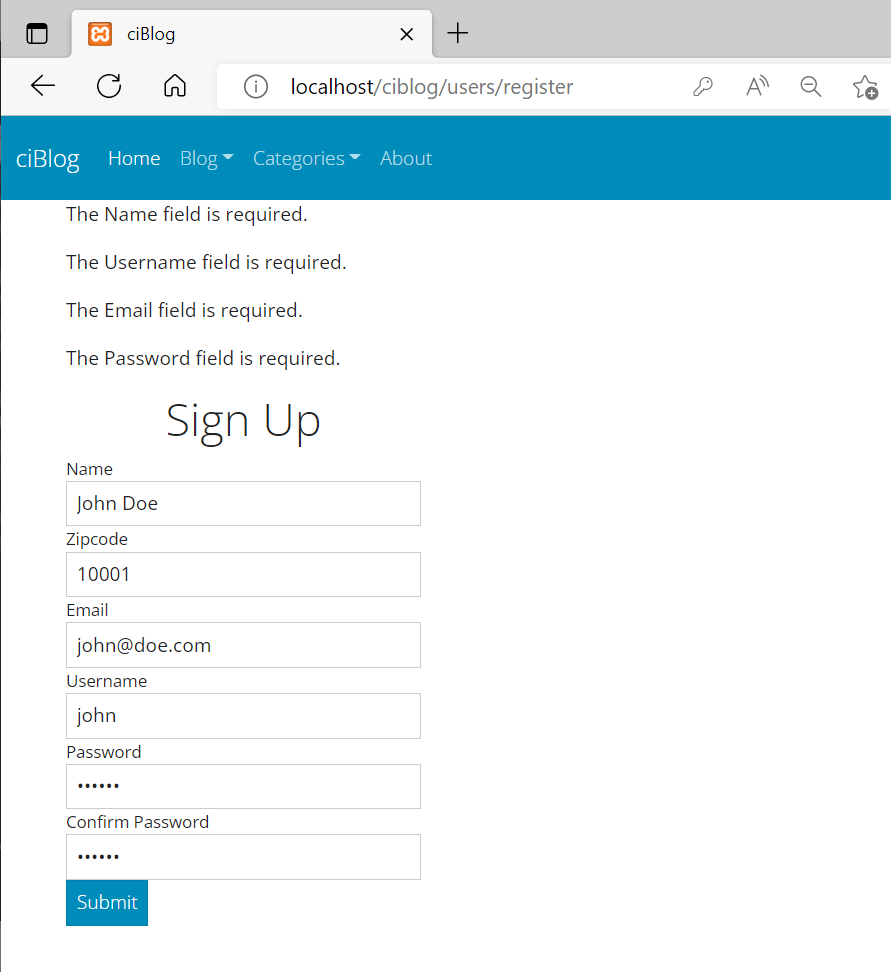
目前的效果:
如果什么都不填,点击Submit,会有错误提示。
完整填写信息后,点击Submit,用户创建成功了。
在数据库中可以看到:

二、添加session
2-1 添加session到autoload
修改config/autoload.php的约第61行:
$autoload['libraries'] = array('form_validation', 'session');
2-2
打开controller/Users.php,在 redirect('posts'); 前面插入:
// Set message
$this->session->set_flashdata('user_registered', 'You are now registered and can log in.');
2-3 添加链接到导航条
在views/templates/header.php中适当的位置添加:
<li class="nav-item">
  <a class="nav-link" href="<?php echo base_url(); ?>users/register">Register</a>
</li>
2-4 加入flash提示信息
仍是在views/templates/header.php中,在末尾的 修改controllers/Posts.php的create函数,在 redirect('posts'); 前面插入: 在update函数的 redirect('posts'); 前面插入: 在delete函数的 redirect('posts'); 前面插入: 修改controllers/Categories.php的create函数,在 redirect('categories'); 前面插入: 效果展示: 当成功注册新用户的时候: 在controller/Users.php的register函数中:
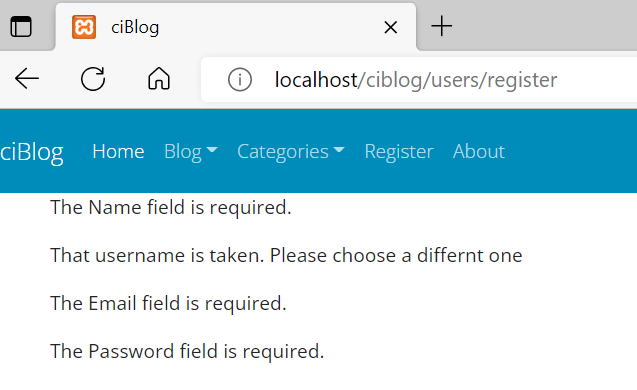
把 改为: 即,增加一个callback_check_username_exists的回调函数。此函数必须以callback_开头,之后的部分才是回调函数的名字。 同时,在此文件中定义这个新的回调函数check_username_exists。 注意!!!
在定义这个回调函数的时候,函数名称是没有callback_的!!! 在models/User_model.php中添加一个check_username_exists函数: 我们试着使用已经注册过的用户名再次注册,会提示此用户名已经被使用。 在controller/Users.php的register函数中:
把 改为: 同时,在此文件中定义这个新的回调函数check_email_exists。 注意!!!再次重申!
在定义这个回调函数的时候,函数名称是没有callback_的!!! 在models/User_model.php中添加一个check_email_exists函数: 我们试着使用已经注册过的email再次注册,会提示此email已经被使用。 至此,第六部分完成! 本节目标:
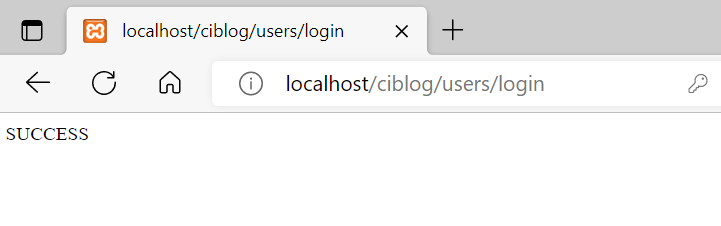
增加用户登录/登出功能 views/users/login.php 在views/templates/header.php中添加: 在models/User_model.php中添加一个login函数: 在controller/Users.php中添加一个login函数: 注意:
这个函数并未完成,其中使用了die('SUCCESS');来做测试。 如果登陆信息不正确,会出现登录错误提示: 如果登陆信息正确,会出现SUCCESS: 在controller/Users.php中,把die('SUCCESS');替换为: 现在就可以成功登录了!!! 在controller/Users.php中,添加一个logout函数: views/templates/header.php 用户登出后的页面: views/templates/header.php 成功登录后的页面: 相比原视频,这里我增加了在导航条上显示当前登录的用户名。 登出之后的页面: 目前访客使用链接直接访问某些页面的话,即使没有登录,也能打开这些页面,比如http://localhost/ciblog/posts/create,正常情况下,未登录用户是不能打开这个页面的。 为了防止此种情况发生,我们要在每个页面检查用户的登录状态。 在controller/Posts.php中的create函数的最开头,加入: 这样在打开Create Post页面时,如果用户没有登录,页面会跳转到登录页面。 把相同的内容添加到delete函数,edit函数和update函数的最开头。 在controller/Categories.php中的create函数的最开头,同样加入相同的内容: 好了,现在如果用户没有登录、通过链接打开Create Post等页面时,页面会跳转到登录页面。 我们先手动把posts表中的user_id改为有效的用户id。 修改models/Post_model.php中的create_post函数,添加一行: 在views/posts/view.php中,把Edit和Delete这2个按钮外面加一个判断: 未登录时,看不到EDIT/DELETE: 登录后,如果不是此用户创建的帖子,也看不到EDIT/DELETE: 只有帖子的创建者本人登录后,才能看到EDIT/DELETE: 修改controllers/Posts.php中的edit函数,增加: 完整内容如下: 这样用户直接访问http://localhost/ciblog/posts/edit/Post-Slug这样的链接时,如果没有权限,会被重定向到所有帖子页面。 至此,第七部分完成! 本节目标:
1)加入帖子的自动分页
2)给分类加上创建者,并进行权限管理 关于自动分页的codeigniter官方文档:
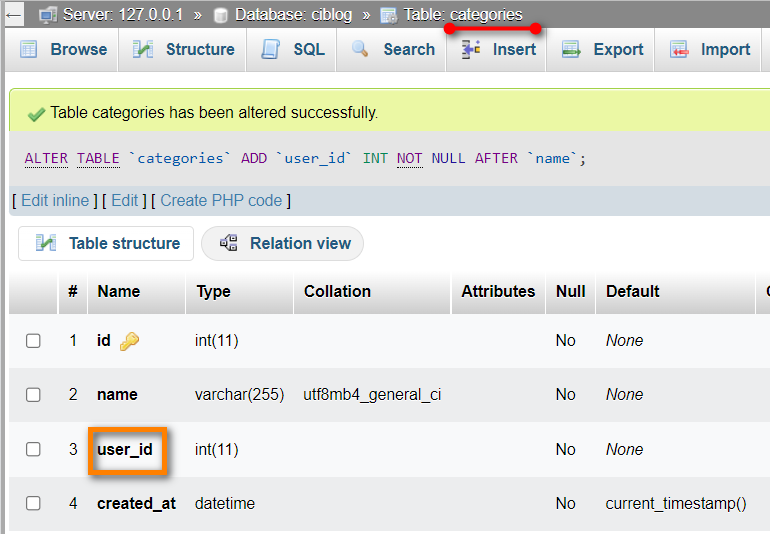
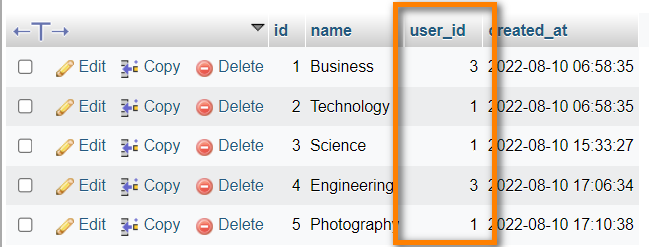
Pagination Class — CodeIgniter 3.1.13 documentation 修改config/autoload.php中的约第61行为: 修改controllers/Posts.php中的index函数: 修改models/Post_model.php中的get_posts函数: 在views/posts/index.php的末尾,加入: 在config/routes.php中加入一句: 在ciblog/assets/css/style.css中加入: 好,现在基本的分页功能已经实现了。 添加一个user_id字段,用来记录某个分类是哪个user创建的。 把categories表的user_id字段的数值手工修改一下,方便测试: views/categories/index.php style.css 以user_id为1的用户登录,可以看到其中的3个分类后面有删除按钮。 此时点击删除按钮,暂时是404页面。 在controller/Categories.php中加入: 确保在views/templates/header.php中有以下内容: models/Category_model.php 注意:
不知道视频主什么时候把Post_model.php中的delete_post函数改了,删除帖子时把相关的图片也同时删除。新的内容如下: 修改 此时我们新建一个分类的话,当前用户的id会被记录为此分类的创建者,因此可以看到删除按钮。<?php if($this->session->flashdata('user_registered')): ?>
<?php echo '<p class="alert alert-success">'.$this->session->flashdata('user_registered').'</p>'; ?>
<?php endif; ?>
<?php if($this->session->flashdata('login_failed')): ?>
<?php echo '<p class="alert alert-danger">'.$this->session->flashdata('login_failed').'</p>'; ?>
<?php endif; ?>
<?php if($this->session->flashdata('user_loggedin')): ?>
<?php echo '<p class="alert alert-success">'.$this->session->flashdata('user_loggedin').'</p>'; ?>
<?php endif; ?>
<?php if($this->session->flashdata('user_loggedout')): ?>
<?php echo '<p class="alert alert-success">'.$this->session->flashdata('user_loggedout').'</p>'; ?>
<?php endif; ?>
<?php if($this->session->flashdata('post_created')): ?>
<?php echo '<p class="alert alert-success">'.$this->session->flashdata('post_created').'</p>'; ?>
<?php endif; ?>
<?php if($this->session->flashdata('post_updated')): ?>
<?php echo '<p class="alert alert-success">'.$this->session->flashdata('post_updated').'</p>'; ?>
<?php endif; ?>
<?php if($this->session->flashdata('post_deleted')): ?>
<?php echo '<p class="alert alert-success">'.$this->session->flashdata('post_deleted').'</p>'; ?>
<?php endif; ?>
<?php if($this->session->flashdata('category_created')): ?>
<?php echo '<p class="alert alert-success">'.$this->session->flashdata('category_created').'</p>'; ?>
<?php endif; ?>
<?php if($this->session->flashdata('category_deleted')): ?>
<?php echo '<p class="alert alert-success">'.$this->session->flashdata('category_deleted').'</p>'; ?>
<?php endif; ?>
2-5 修改Posts controller
// Set message
$this->session->set_flashdata('post_created', 'Your post has been created');
$this->session->set_flashdata('post_updated', 'Your post has been updated');
$this->session->set_flashdata('post_deleted', 'Your post has been deleted');
2-6 修改Categories controller
$this->session->set_flashdata('category_created', 'Your category has been created');

三、禁止同一用户名重复注册
3-1 修改controller
$this->form_validation->set_rules('username', 'Username', 'required');
$this->form_validation->set_rules('username', 'Username', 'required|callback_check_username_exists');
//Check if username exists
function check_username_exists($username){
$this->form_validation->set_message(
'check_username_exists', 'That username is taken. Please choose a differnt one');
if($this->user_model->check_username_exists($username)){
return true;
} else {
return false;
}
}
3-2 修改model
public function check_username_exists($username){
$query = $this->db->get_where('users', array('username' => $username));
if(empty($query->row_array())){
return true;
} else {
return false;
}
}
四、禁止同一email重复注册
4-1 修改controller
$this->form_validation->set_rules('email', 'Email', 'required');
$this->form_validation->set_rules('email', 'Email', 'required|callback_check_email_exists');
//Check if email exists
function check_email_exists($email){
$this->form_validation->set_message(
'check_email_exists', 'That email is taken. Please choose a differnt one');
if($this->user_model->check_email_exists($email)){
return true;
} else {
return false;
}
}
4-2 修改model
public function check_email_exists($email){
$query = $this->db->get_where('users', array('email' => $email));
if(empty($query->row_array())){
return true;
} else {
return false;
}
}

Part 7
一、用户登录
1-1 新建login view
<?php echo form_open('users/login'); ?>
<div class="row">
<div class="col-md-4 col-md-offset-4">
<h1 class="text-center"><?php echo $title; ?></h1>
<div class="form-group">
<input type="text" name="username" class="form-control" placeholder="Enter Username" required autofocus>
</div>
<div class="form-group">
<input type="password" name="password" class="form-control" placeholder="Enter Password" required autofocus>
</div>
<button type="submit" class="btn btn-primary">Login</button>
</div>
</div>
<?php echo form_close(); ?>
1-2 添加到导航条
<li class="nav-item">
<a class="nav-link" href="<?php echo base_url(); ?>users/login">Login</a>
</li>
1-3 修改model
public function login($username, $password){
//Validate
$this->db->where('username', $username);
$this->db->where('password', $password);
$result = $this->db->get('users');
if($result->num_rows() == 1){
return $result->row(0)->id;
} else {
return false;
}
}
1-4 controller
//Login user
public function login()
{
$data['title'] = "Sign In";
$this->form_validation->set_rules('username', 'Username', 'required');
$this->form_validation->set_rules('password', 'Password', 'required');
if($this->form_validation->run() === FALSE){
$this->load->view('templates/header');
$this->load->view('users/login', $data);
$this->load->view('templates/footer');
} else {
//Get username
$username = $this->input->post('username');
//Get password and calculate it's md5 value
$password = md5($this->input->post('password'));
//Login user, and get its user id from db; If login failed, it's false
$user_id = $this->user_model->login($username, $password);
if($user_id){ //correct login
//Create session
die('SUCCESS');
$this->session->set_flashdata('user_loggedin', 'You are now logged in');
redirect('posts');
} else { //login failed
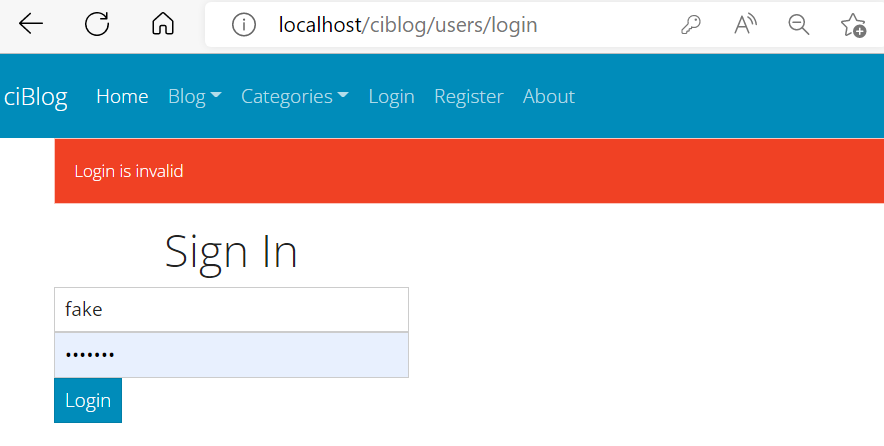
$this->session->set_flashdata('login_failed', 'Login is invalid');
redirect('users/login');
}
}
}
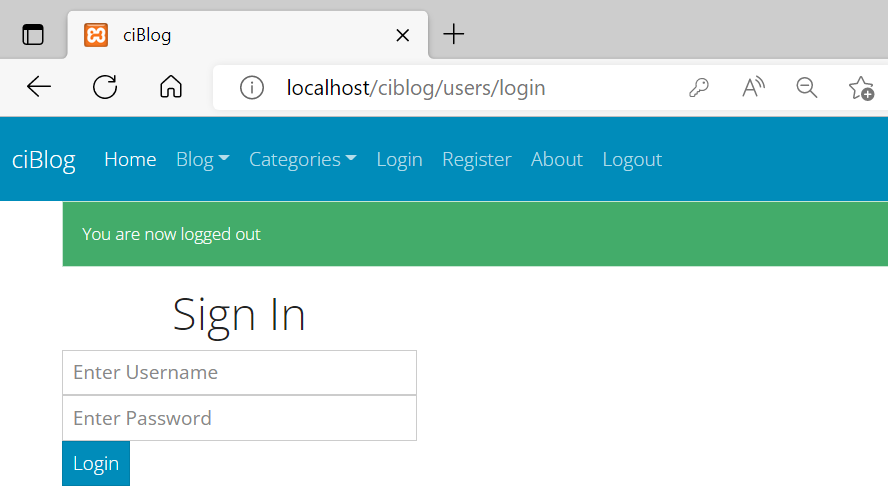
1-5 测试一下
1-6 完成controller的修改
$user_data = array(
'user_id' => $user_id,
'username' => $username,
'logged_in' => true
);
$this->session->set_userdata($user_data);

二、用户登出
2-1 修改controller
//Logout user
public function logout(){
//Unset user data
$this->session->unset_userdata('logged_in');
$this->session->unset_userdata('user_id');
$this->session->unset_userdata('username');
$this->session->set_flashdata('user_loggedout', 'You are now logged out');
redirect('users/login');
}
2-2 添加到导航条
<li class="nav-item">
<a class="nav-link" href="<?php echo base_url(); ?>users/logout">Logout</a>
</li>
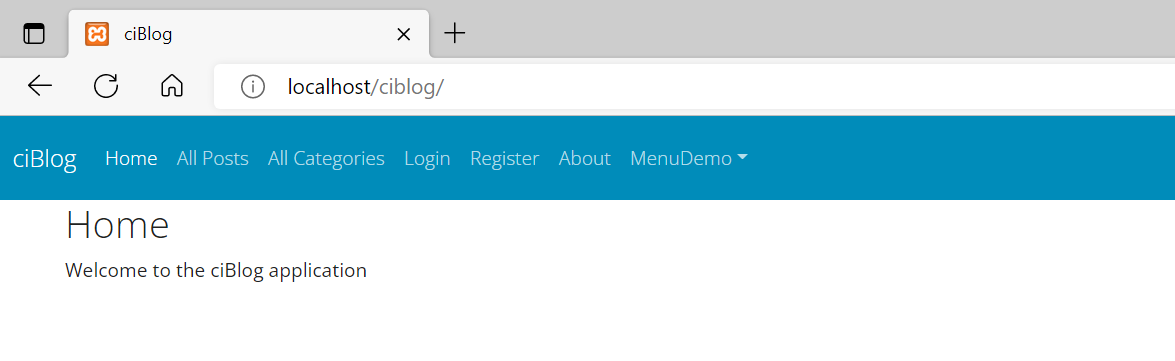
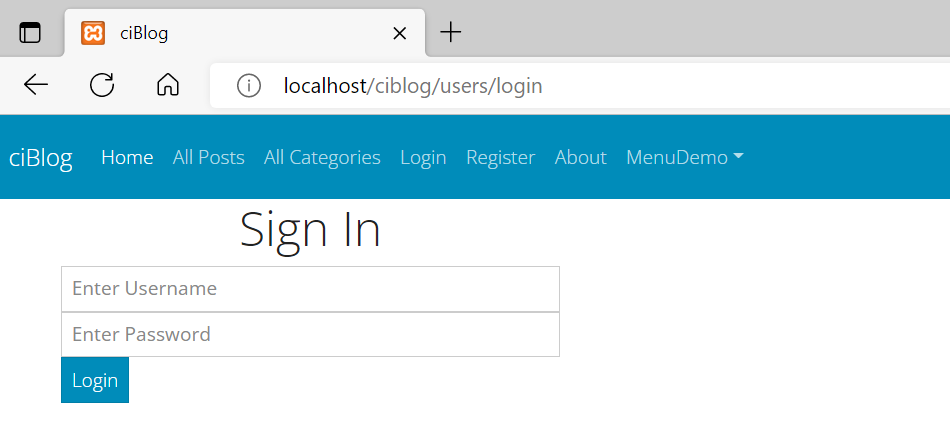
三、根据登录状态显示不同内容
3-1 修改导航条,仅显示与登录状态对应的内容
<head>
<title>ciBlog</title>
<meta charset="UTF-8">
<link rel="stylesheet" href="https://cdn.jsdelivr.net/npm/bootswatch@5.2.0/dist/yeti/bootstrap.min.css">
<link rel="stylesheet" href="<?php echo base_url(); ?>assets/css/style.css">
<script src="https://cdn.jsdelivr.net/npm/bootstrap@5.1.3/dist/js/bootstrap.min.js" integrity="sha384-QJHtvGhmr9XOIpI6YVutG+2QOK9T+ZnN4kzFN1RtK3zEFEIsxhlmWl5/YESvpZ13" crossorigin="anonymous"></script>
<script src="http://cdn.ckeditor.com/4.19.1/standard/ckeditor.js"></script>
</head>
<body>
<nav class="navbar navbar-expand-lg navbar-dark bg-primary">
<div class="container-fluid">
<a class="navbar-brand" href="<?php echo base_url(); ?>">ciBlog</a>
<button class="navbar-toggler" type="button" data-bs-toggle="collapse" data-bs-target="#navbarColor01" aria-controls="navbarColor01" aria-expanded="false" aria-label="Toggle navigation">
<span class="navbar-toggler-icon"></span>
</button>
<div class="collapse navbar-collapse" id="navbarColor01">
<ul class="navbar-nav me-auto">
<li class="nav-item">
<a class="nav-link active" href="<?php echo base_url(); ?>">Home
<span class="visually-hidden">(current)</span>
</a>
</li>
<?php if($this->session->userdata('logged_in')) : ?>
<li class="nav-item">
<a class="nav-link" href="<?php echo base_url(); ?>posts/create">Create Post</a>
</li>
<li class="nav-item">
<a class="nav-link" href="<?php echo base_url(); ?>categories/create">Create Category</a>
</li>
<?php endif; ?>
<li class="nav-item">
<a class="nav-link" href="<?php echo base_url(); ?>posts">All Posts</a>
</li>
<li class="nav-item">
<a class="nav-link" href="<?php echo base_url(); ?>categories">All Categories</a>
</li>
<?php if(!$this->session->userdata('logged_in')) : ?>
<li class="nav-item">
<a class="nav-link" href="<?php echo base_url(); ?>users/login">Login</a>
</li>
<li class="nav-item">
<a class="nav-link" href="<?php echo base_url(); ?>users/register">Register</a>
</li>
<?php endif; ?>
<?php if($this->session->userdata('logged_in')) : ?>
<li class="nav-item">
<a class="nav-link" href="#">[Current User: <?php echo $this->session->userdata('username'); ?>]</a>
</li>
<li class="nav-item">
<a class="nav-link" href="<?php echo base_url(); ?>users/logout">Logout</a>
</li>
<?php endif; ?>
<li class="nav-item">
<a class="nav-link" href="<?php echo base_url(); ?>about">About</a>
</li>
<li class="nav-item dropdown">
<a class="nav-link dropdown-toggle" data-bs-toggle="dropdown" href="#" role="button" aria-haspopup="true" aria-expanded="false">MenuDemo</a>
<div class="dropdown-menu">
<a class="dropdown-item" href="<?php echo base_url(); ?>posts">All Posts</a>
<?php if($this->session->userdata('logged_in')) : ?>
<a class="dropdown-item" href="<?php echo base_url(); ?>posts/create">Create Post</a>
<?php endif; ?>
<div class="dropdown-divider"></div>
<a class="dropdown-item" href="#">Something</a>
<a class="dropdown-item" href="#">Separated</a>
</div>
</li>
</ul>
<form class="d-flex">
<input class="form-control me-sm-2" type="text" placeholder="Search">
<button class="btn btn-secondary my-2 my-sm-0" type="submit">Search</button>
</form>
</div>
</div>
</nav>
<div class="container">
<!-- Flash messages -->
<?php if($this->session->flashdata('user_registered')): ?>
  <?php echo '<p class="alert alert-success">'.$this->session->flashdata('user_registered').'</p>'; ?>
<?php endif; ?>

<?php if($this->session->flashdata('login_failed')): ?>
  <?php echo '<p class="alert alert-danger">'.$this->session->flashdata('login_failed').'</p>'; ?>
<?php endif; ?>

<?php if($this->session->flashdata('user_loggedin')): ?>
  <?php echo '<p class="alert alert-success">'.$this->session->flashdata('user_loggedin').'</p>'; ?>
<?php endif; ?>

 <?php if($this->session->flashdata('user_loggedout')): ?>
  <?php echo '<p class="alert alert-success">'.$this->session->flashdata('user_loggedout').'</p>'; ?>
<?php endif; ?>


<?php if($this->session->flashdata('post_created')): ?>
  <?php echo '<p class="alert alert-success">'.$this->session->flashdata('post_created').'</p>'; ?>
<?php endif; ?>

<?php if($this->session->flashdata('post_updated')): ?>
  <?php echo '<p class="alert alert-success">'.$this->session->flashdata('post_updated').'</p>'; ?>
<?php endif; ?>

<?php if($this->session->flashdata('post_deleted')): ?>
  <?php echo '<p class="alert alert-success">'.$this->session->flashdata('post_deleted').'</p>'; ?>
<?php endif; ?>


<?php if($this->session->flashdata('category_created')): ?>
  <?php echo '<p class="alert alert-success">'.$this->session->flashdata('category_created').'</p>'; ?>
<?php endif; ?>

<?php if($this->session->flashdata('category_deleted')): ?>
  <?php echo '<p class="alert alert-success">'.$this->session->flashdata('category_deleted').'</p>'; ?>
<?php endif; ?>

四、每个页面在打开之前都要检查用户的登录状态

4-1 Posts controller
//Check login
if(!$this->session->userdata('logged_in')){
  redirect('users/login');
}
4-2 Categories controller
//Check login
if(!$this->session->userdata('logged_in')){
  redirect('users/login');
}
五、发帖时将作者user_id也保存入数据库

5-1 修改Post_model
$data = array(
  'title' => $this->input->post('title'),
  'slug' => $slug,
  'body' => $this->input->post('body'),
  'category_id' => $this->input->post('category_id'),
  'user_id' => $this->session->userdata('user_id'), //添加这一行<----
  'post_image' => $post_image
);
六、只有作者可以修改或删除post
6-1 对非帖子作者隐藏按钮
<?php if($this->session->userdata('user_id') == $post['user_id']): ?>
  <a class="btn btn-outline-primary" href="<?php echo base_url(); ?>posts/edit/<?php echo $post['slug']; ?>">Edit</a>

  <?php echo form_open('posts/delete/'.$post['id']); ?>
    <input type='submit' value="Delete" class="btn btn-danger">
  </form>
<?php endif; ?>
6-2 防止用链接绕过用户验证
//Only the post creator can edit the post
if($this->session->userdata('user_id') != $this->post_model->get_posts($slug)['user_id']){
  redirect('posts');
}
public function edit($slug){
  //Check login
  if(!$this->session->userdata('logged_in')){
    redirect('users/login');
  }

  //Only the post creator can edit the post
  if($this->session->userdata('user_id') != $this->post_model->get_posts($slug)['user_id']){
    redirect('posts');
  }

  $data['post'] = $this->post_model->get_posts($slug);
  $data['categories'] = $this->post_model->get_categories();

  if(empty($data['post'])){
    show_404();
  }

  $data['title'] = "Edit Post";

  $this->load->view('templates/header');
  $this->load->view('posts/edit', $data);
  $this->load->view('templates/footer');
}
Part 8
一、加入帖子的自动分页
1-1 添加pagination library
$autoload['libraries'] = array('form_validation', 'session', 'pagination');
1-2 修改Posts controller
public function index($offset = 0){ //增加了$offset<----
  //Pagination config
  $config['base_url'] = base_url() . 'posts/index/';
  $config['total_rows'] = $this->db->count_all('posts');
  $config['per_page'] = 3;
  $config['uri_segment'] = 3; //In the base url link above, posts is 1, index is 2, segment number is 3. therefore this is set to 3
    // Produces: class="pagination-link"
  $config['attributes'] = array('class' => 'pagination-link');

  //Init pagination
  $this->pagination->initialize($config);
//增加了以上几行<----

  $data['title'] = 'Latest Posts';

  $data['posts'] = $this->post_model->get_posts(FALSE, $config['per_page'], $offset); //修改这一句

  $this->load->view('templates/header');
  $this->load->view('posts/index', $data);
  $this->load->view('templates/footer');
}
1-3 修改model
public function get_posts($slug = FALSE, $limit = FALSE, $offset = FALSE){ //添加2个参数
  if($limit){ //加上这个判断
    $this->db->limit($limit, $offset);
  }
  if($slug === FALSE){
    $this->db->order_by('posts.id','DESC');
    $this->db->join('categories', 'categories.id = posts.category_id');
    $query = $this->db->get('posts');
    return $query->result_array();
  }

  $query = $this->db->get_where('posts', array('slug' => $slug));
  return $query->row_array();
}
1-4 修改view
<div class="pagination-links">
  <?php echo $this->pagination->create_links(); ?>
</div>
1-5 修改routes
$route['posts/index'] = 'posts/index';
1-6
.pagination-links{
  margin: 30px 0;
}

.pagination-links strong{
  padding: 8px 13px;
  margin: 5px;
  background: #f4f4f4;
  border: 1px #ccc solid;
}

a.pagination-link{
  padding: 8px 13px;
  margin: 5px;
  background: #f4f4f4;
  border: 1px #ccc solid;
}

二、给分类加上创建者,并进行权限管理
2-1 修改categories表
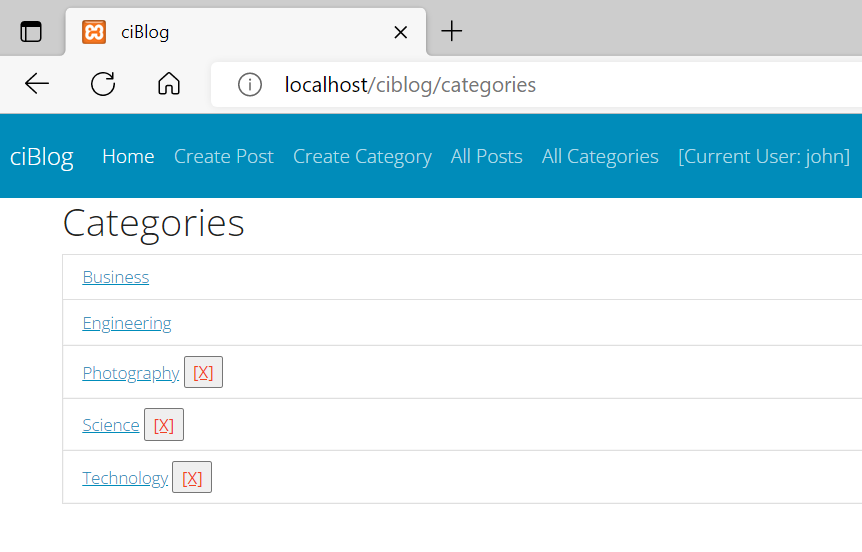
2-2 修改view
<h2><?= $title; ?></h2>

<ul class="list-group">
  <?php foreach($categories as $category) : ?>
    <li class="list-group-item">
      <a href="<?php echo site_url('/categories/posts/'.$category['id']); ?>"><?php echo $category['name']; ?></a>
      <?php if($this->session->userdata('user_id') == $category['user_id']): ?>
        <form class="cat-delete" action="categories/delete/<?php echo $category['id']; ?>" method="POST">
          <input type="submit" class="btn-link text-danger" value="[X]">
        </form>
      <?php endif; ?>
    </li>
  <?php endforeach; ?>
</ul>
2-3 修改css
.cat-delete {
  display: inline;
}
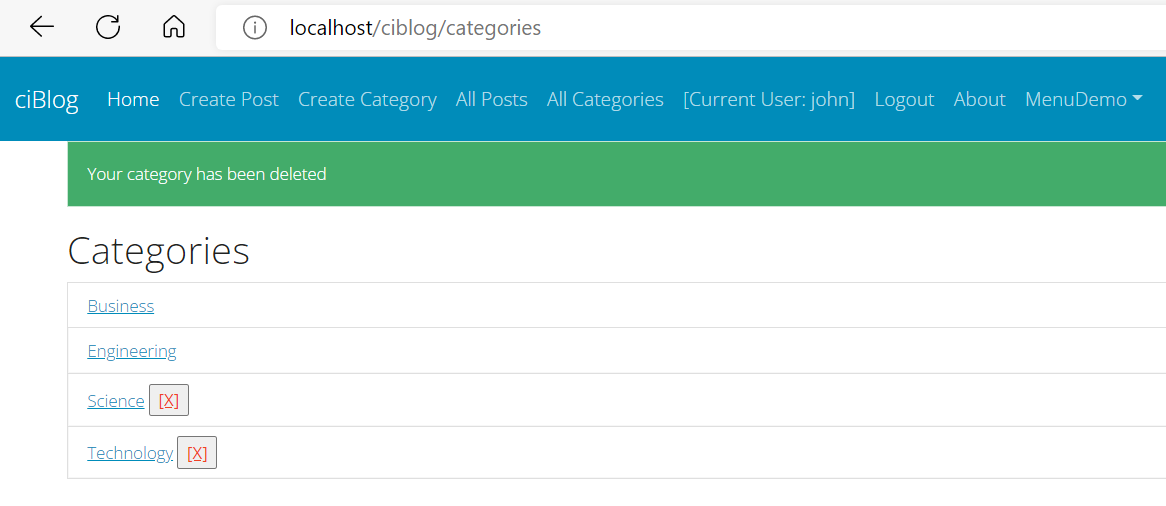
2-4 修改controller
public function delete($id){
  //Check login
  if(!$this->session->userdata('logged_in')){
    redirect('users/login');
  }

  $this->category_model->delete_category($id);
  $this->session->set_flashdata('category_deleted', 'Your category has been deleted');
  redirect('categories');
}
2-5 修改header
<?php if($this->session->flashdata('category_deleted')): ?>
  <?php echo '<p class="alert alert-success">'.$this->session->flashdata('category_deleted').'</p>'; ?>
<?php endif; ?>
2-6 修改model
public function delete_category($id){
  $this->db->where('id', $id);
  $this->db->delete('categories');
  return true;
}
public function delete_post($id){
  $image_file_name = $this->db->select('post_image')->get_where('posts', array('id' => $id))->row()->post_image;
  $cwd = getcwd(); // Save the current working directory
  $image_file_path = $cwd."\\assets\\images\\posts\\";
  chdir($image_file_path);
  unlink($image_file_name);
  chdir($cwd); // Restore the previous working directory

  $this->db->where('id', $id);
  $this->db->delete('posts');
  return true;
}
三、创建分类时要记录创建者id
models/Category_model.php的create_category函数:public function create_category(){
$data = array(
'name' => $this->input->post('name'),
'user_id' => $this->session->userdata('user_id')
);
return $this->db->insert('categories', $data);
}
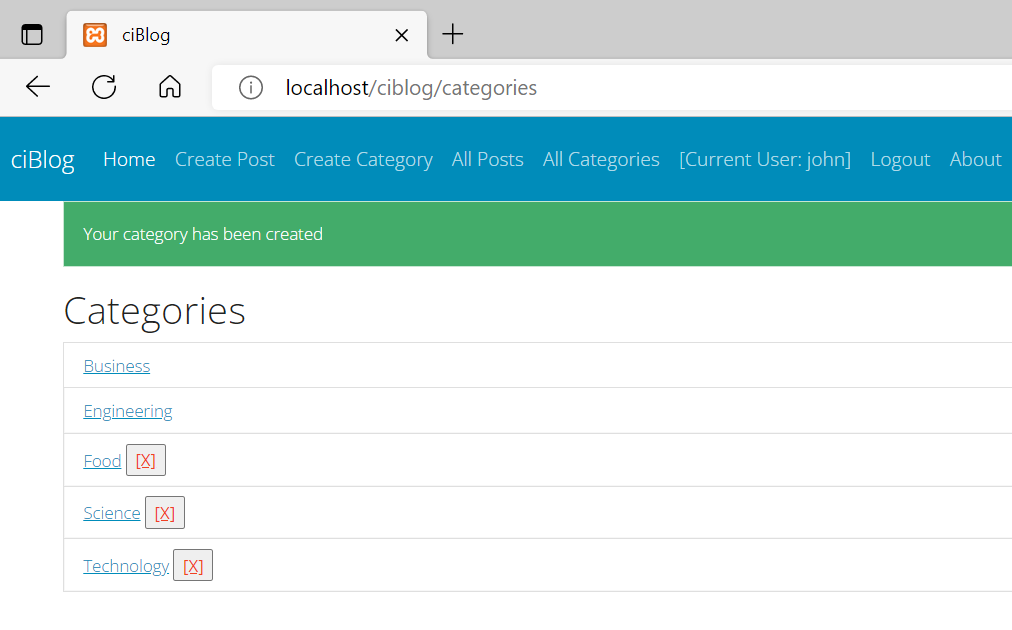
所有内容全部完结!